
Setting up Facebook Lead Routing | Onboarding
Navigate to https://app.pfmgmt.com/
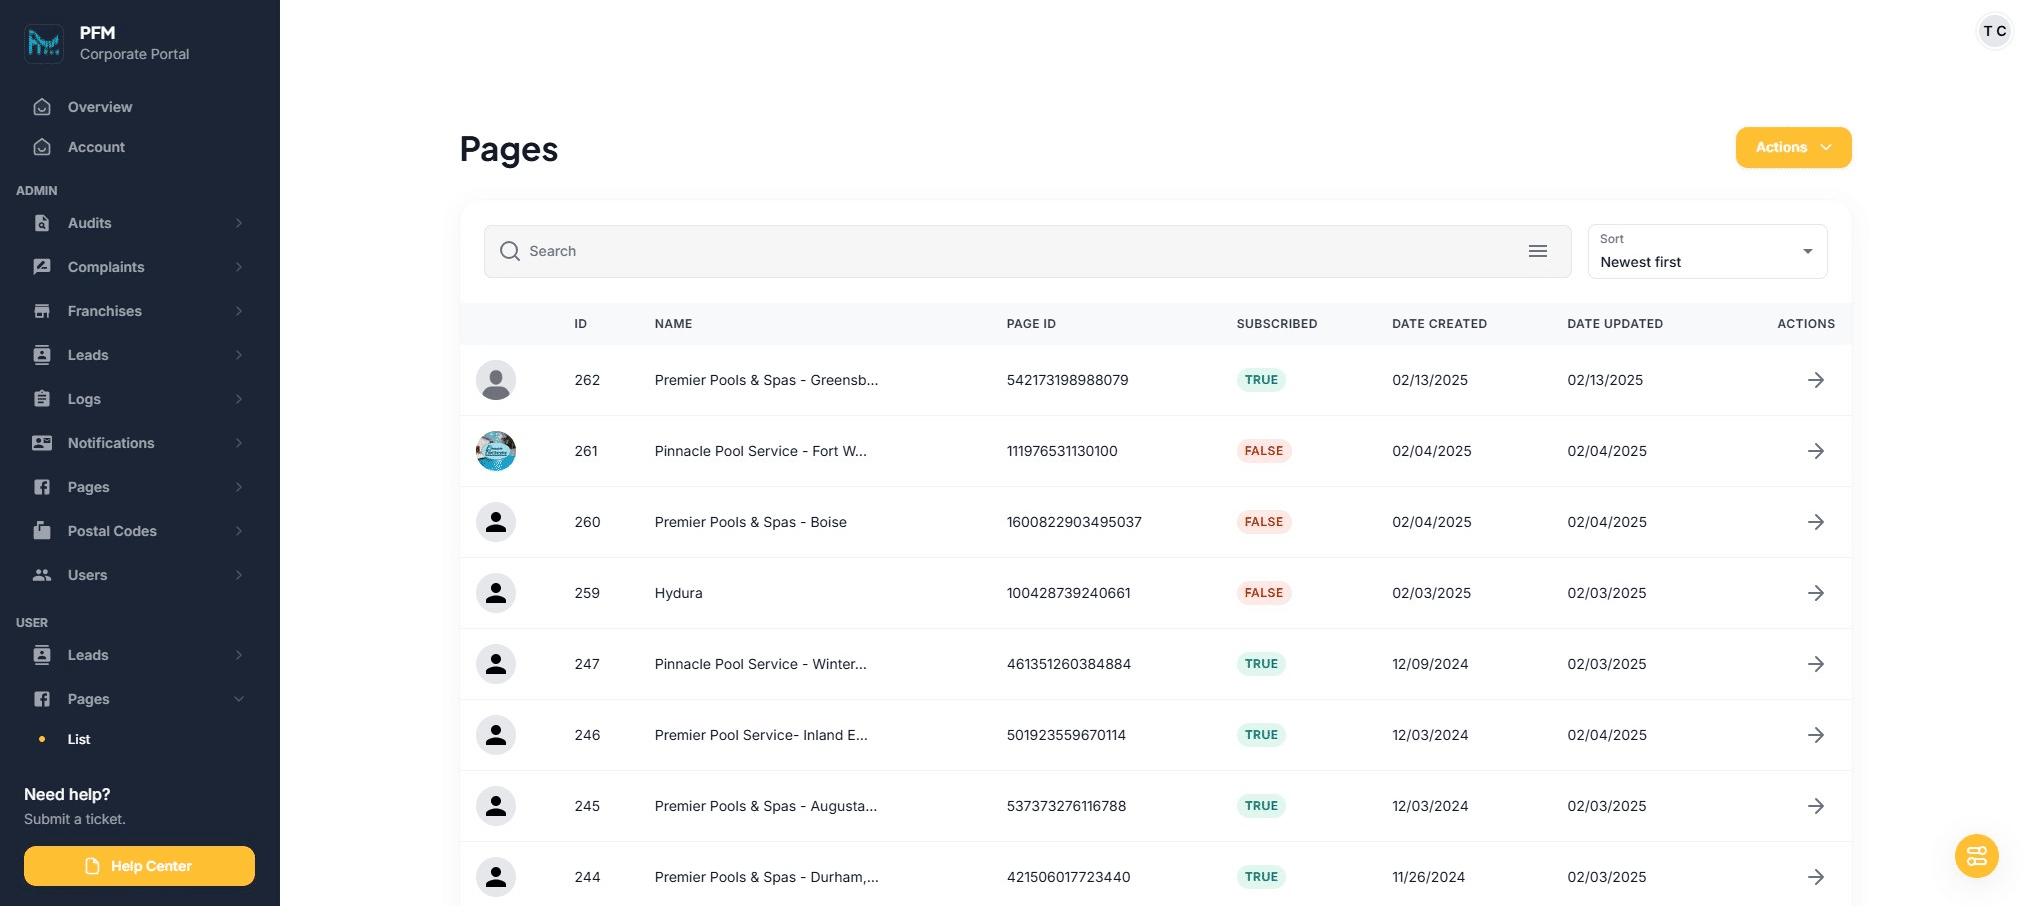
Click on "Pages"

Click on "List"

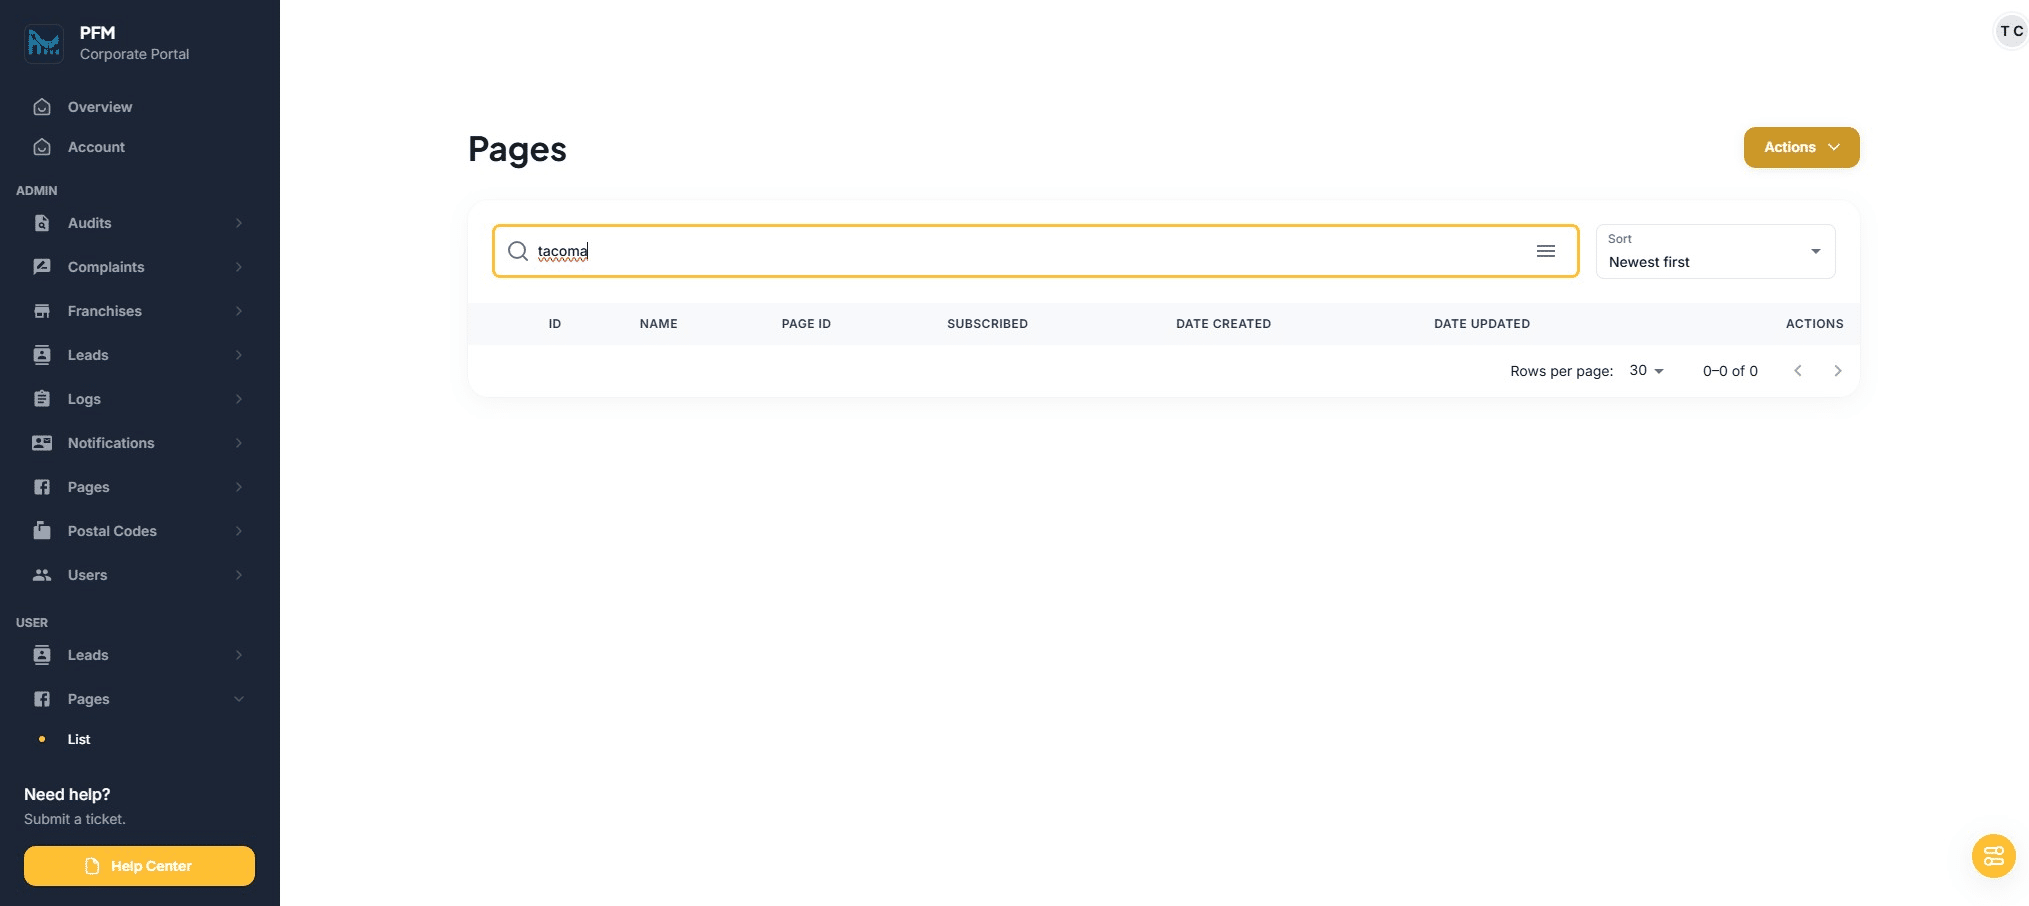
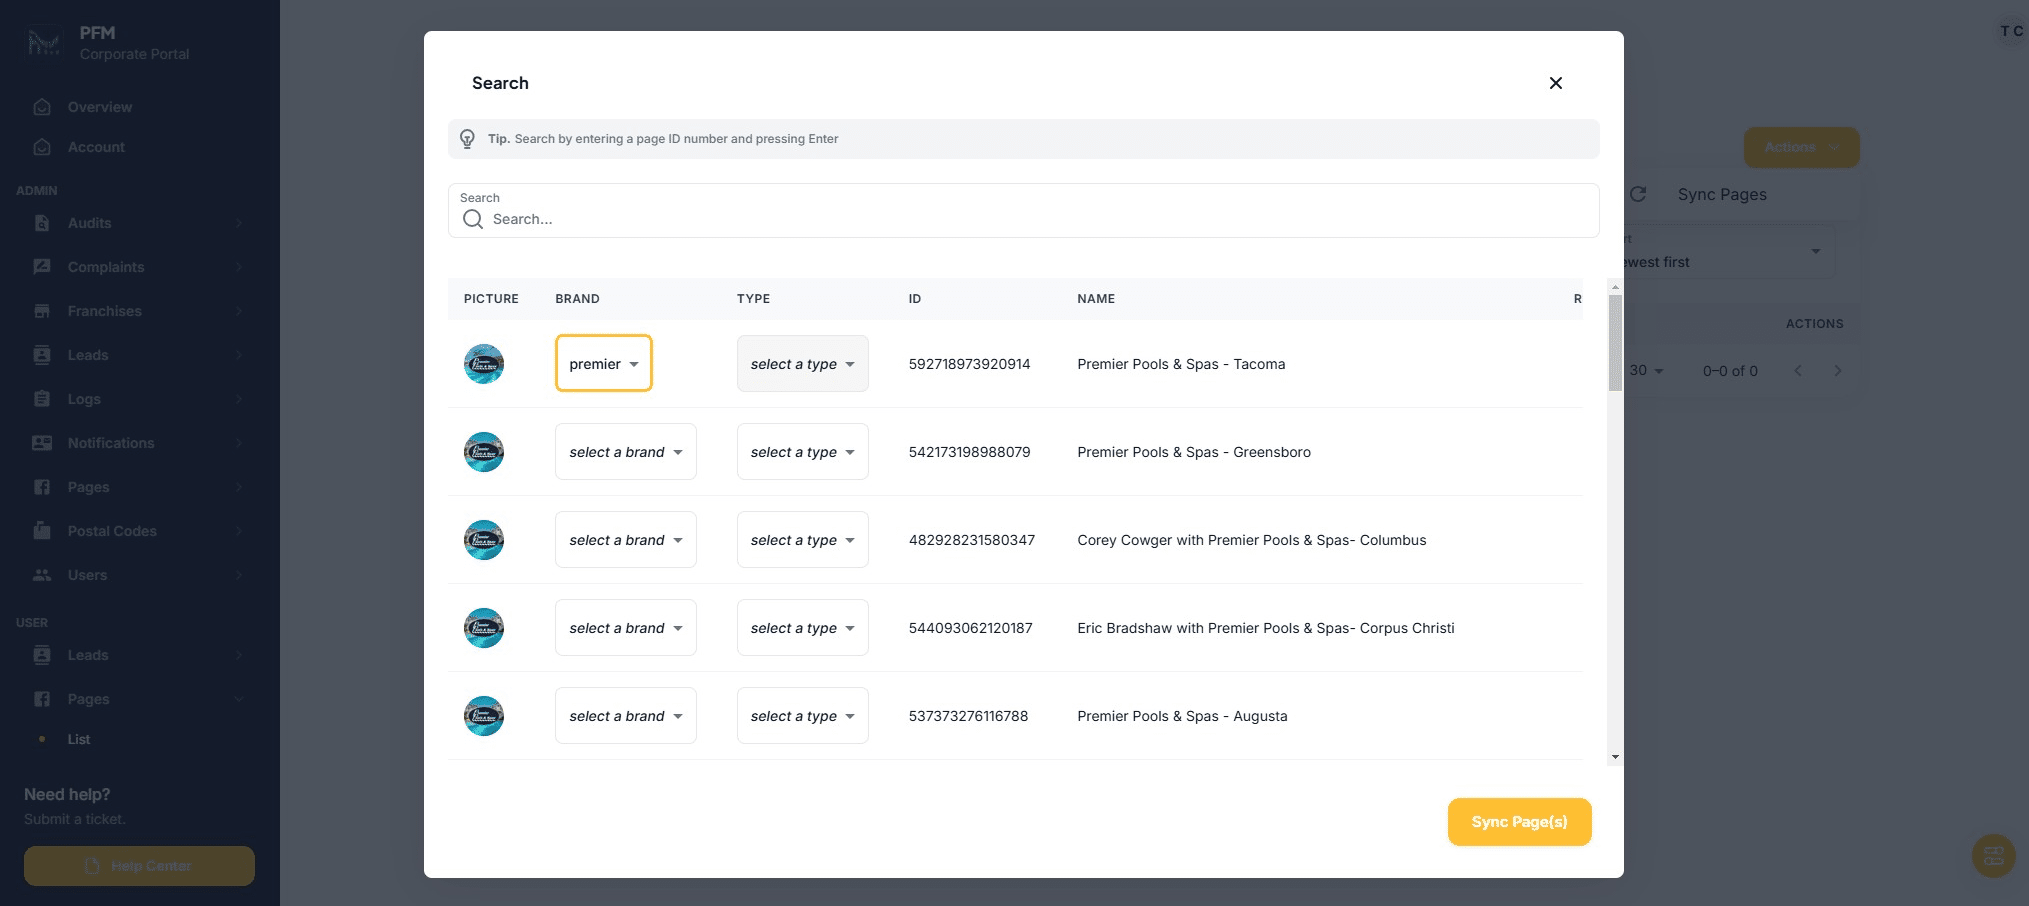
First, search to confirm if Facebook page has been synced already
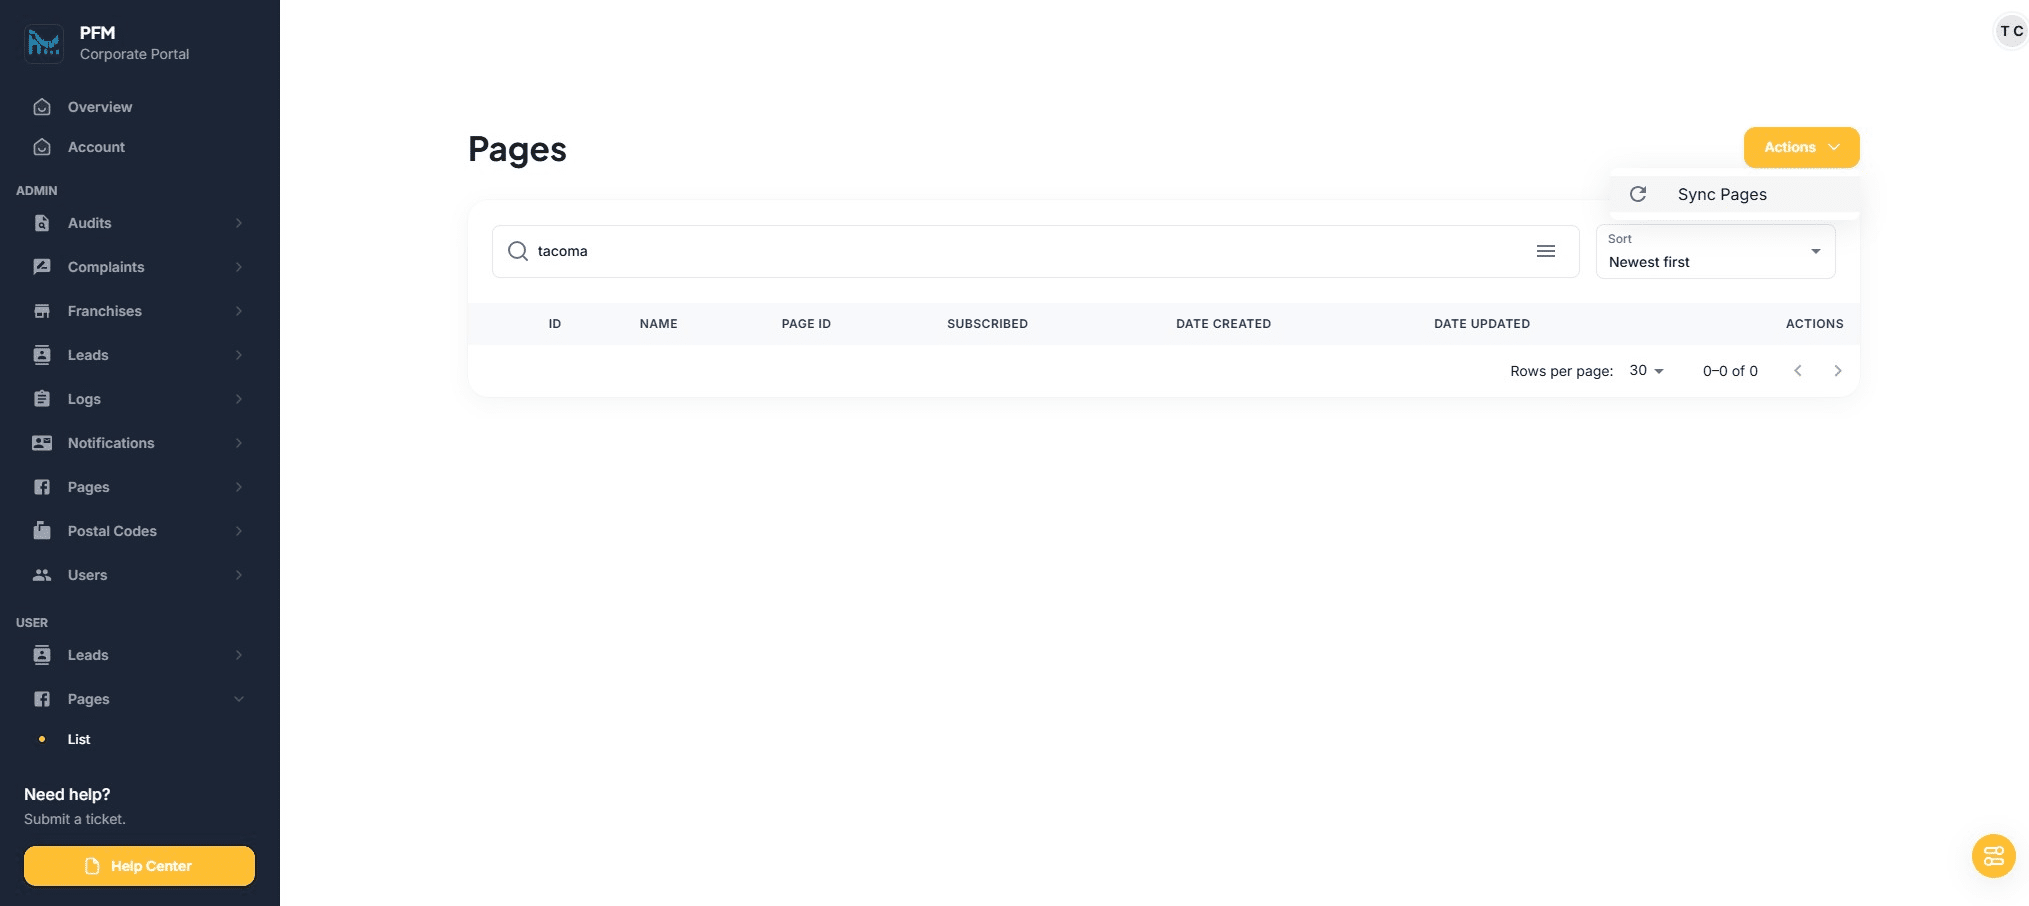
If not - Click on "Actions"
Click on "Sync Pages"
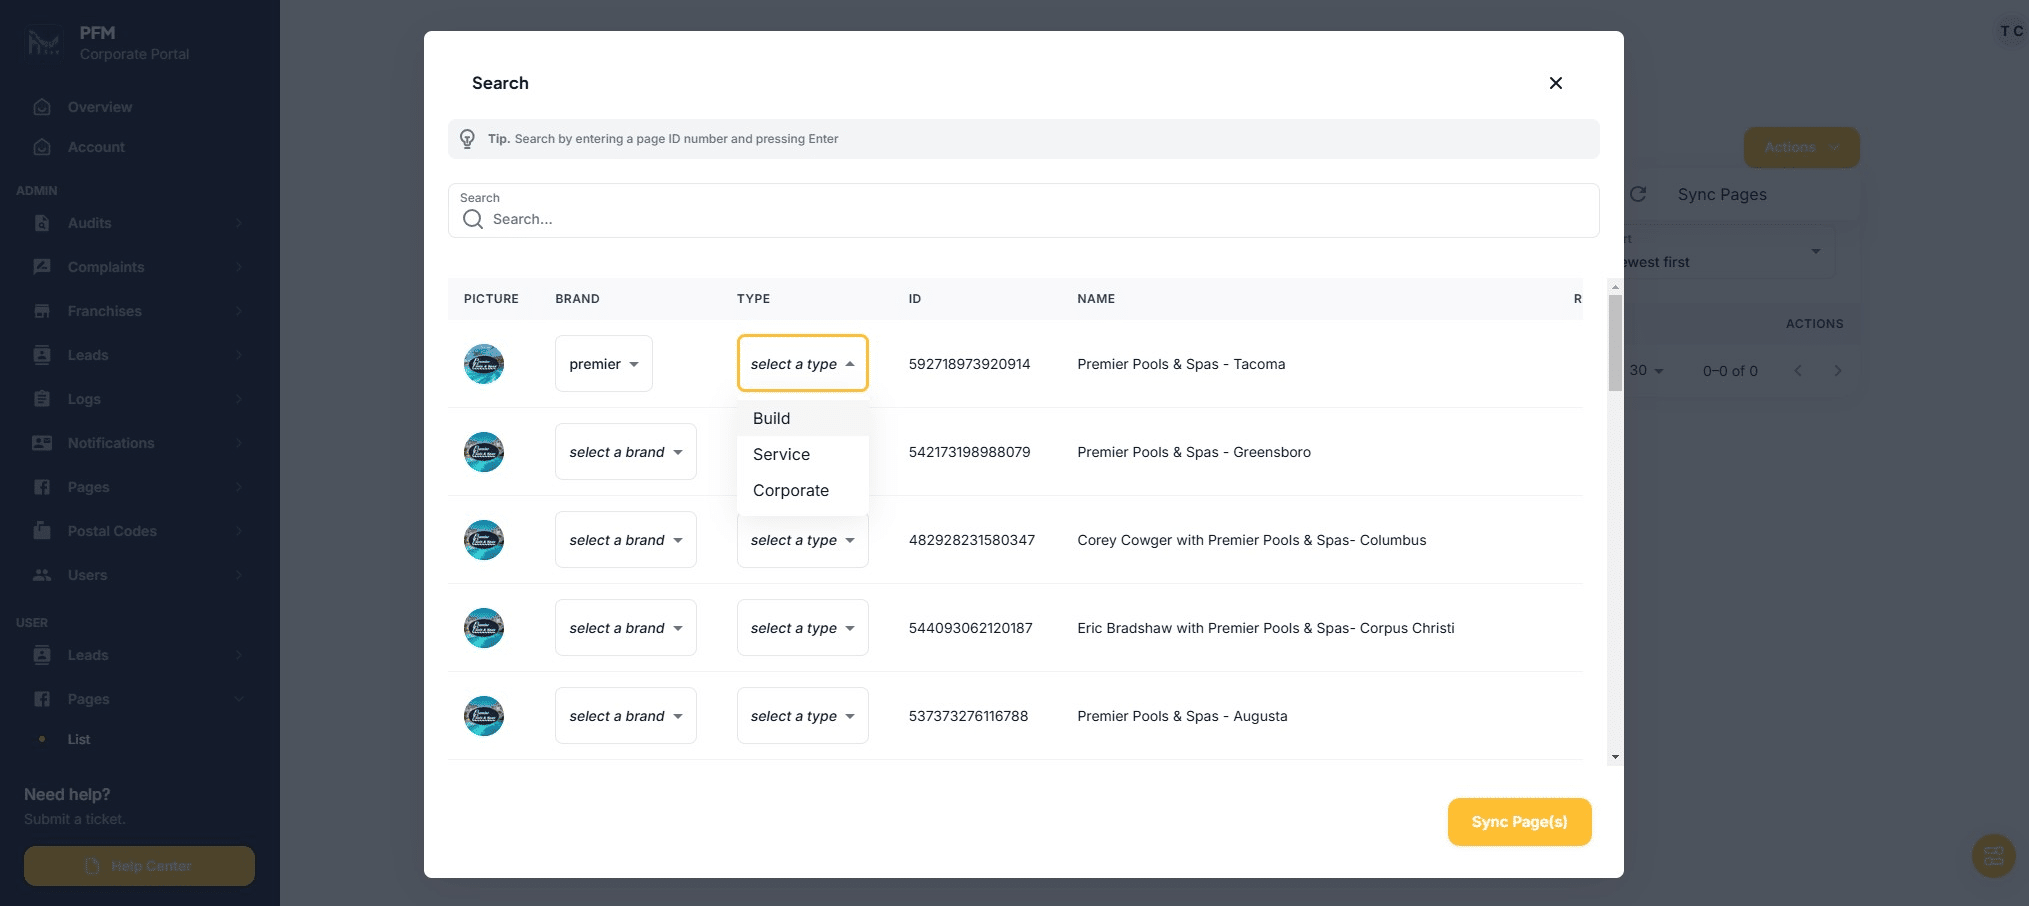
Find the FB Page and match the brand and type - Click on "select a brand"
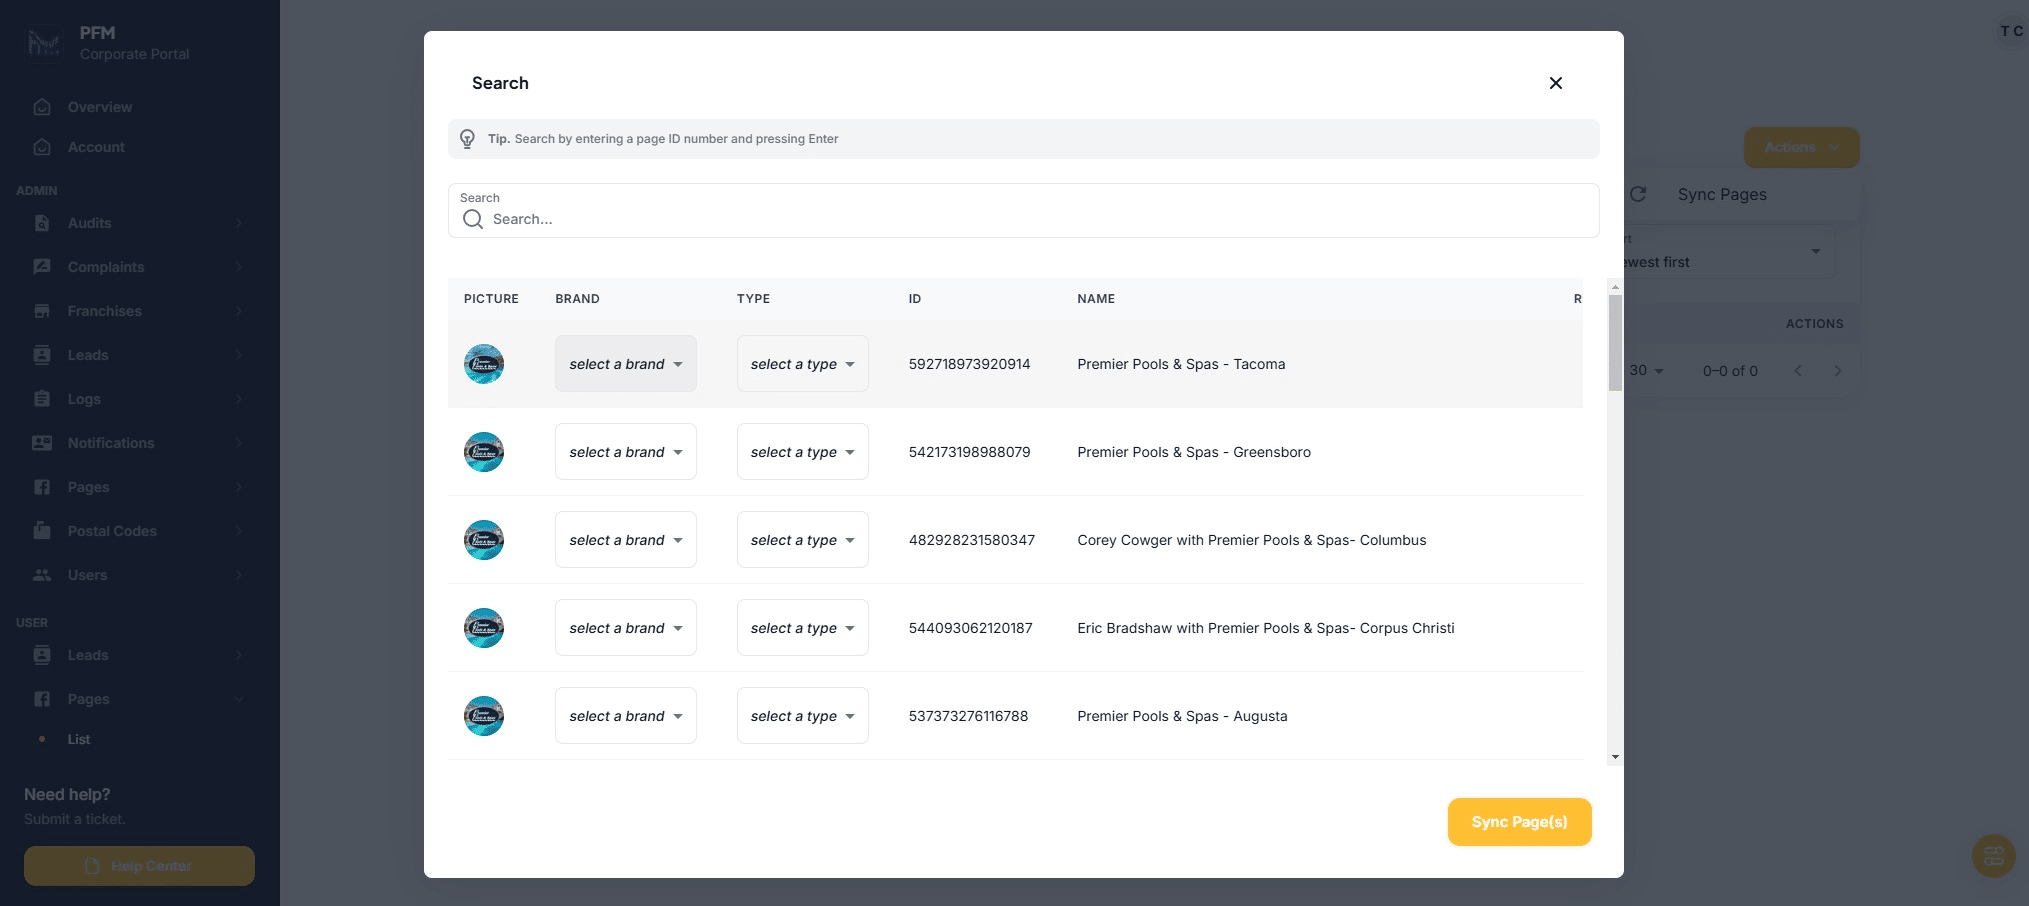
Click on "premier"

Click on "select a type"
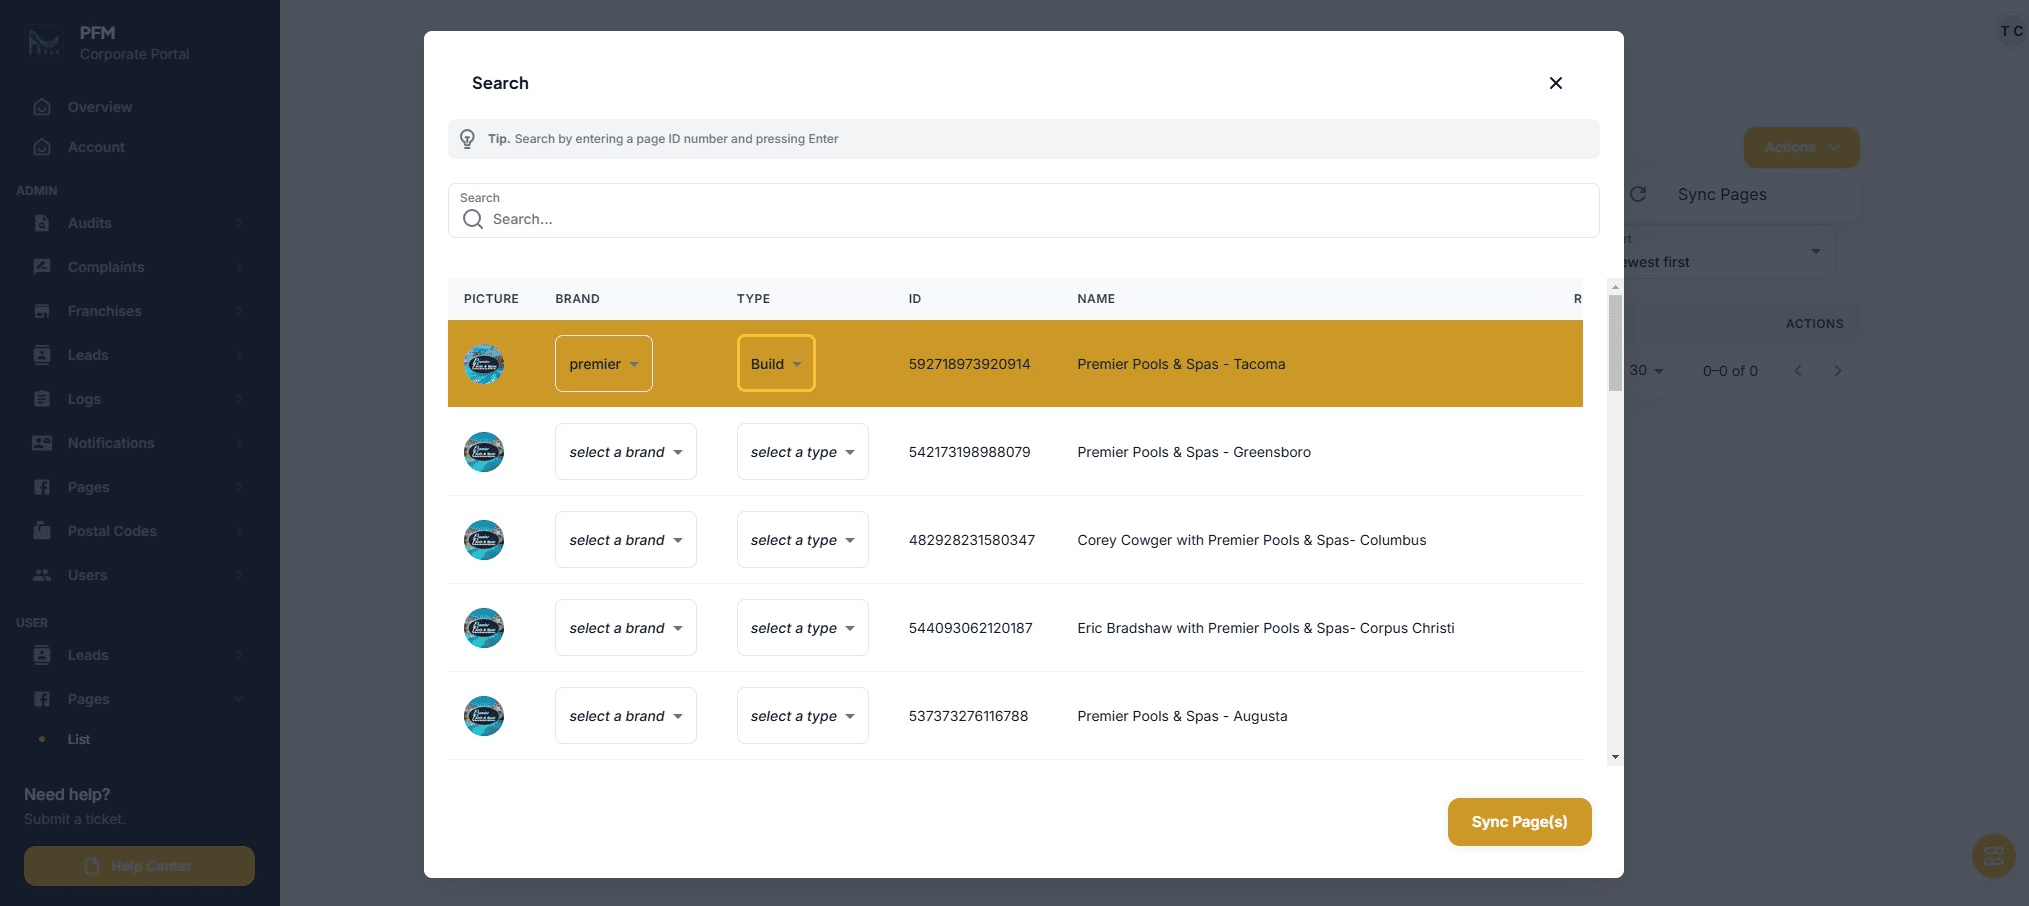
Click on "Build"
Click on "Sync Page(s)"
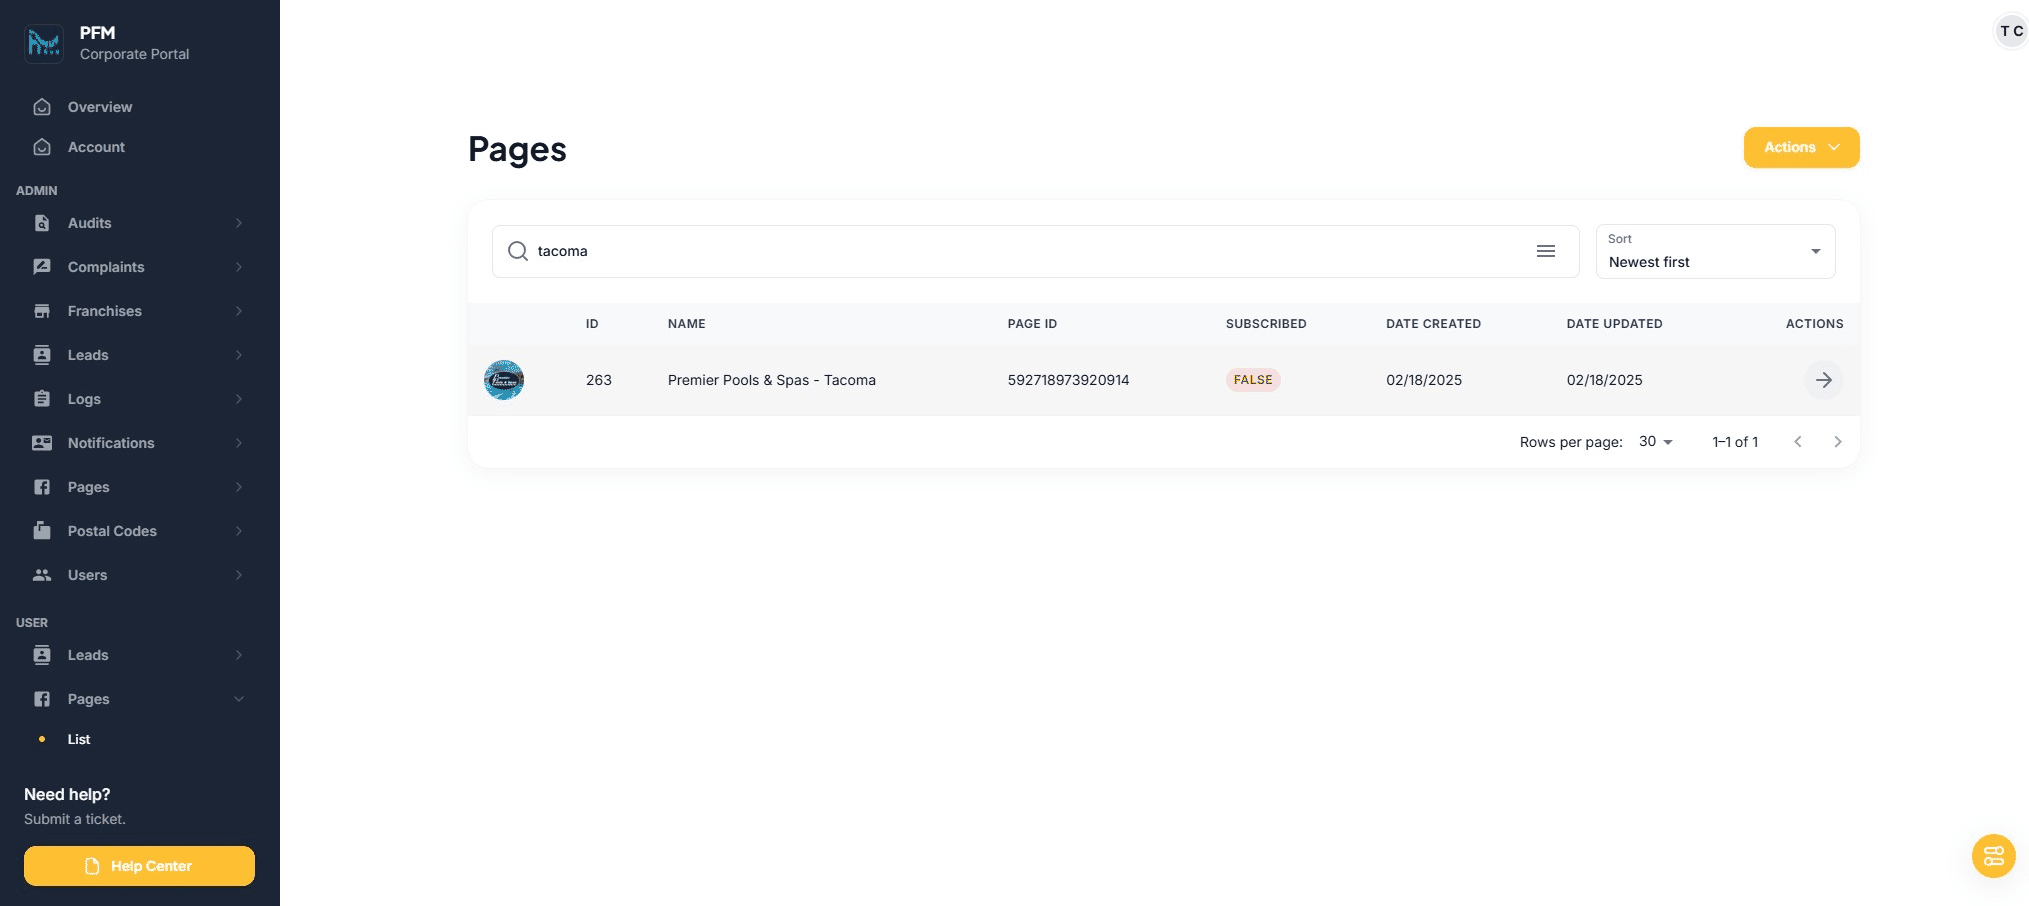
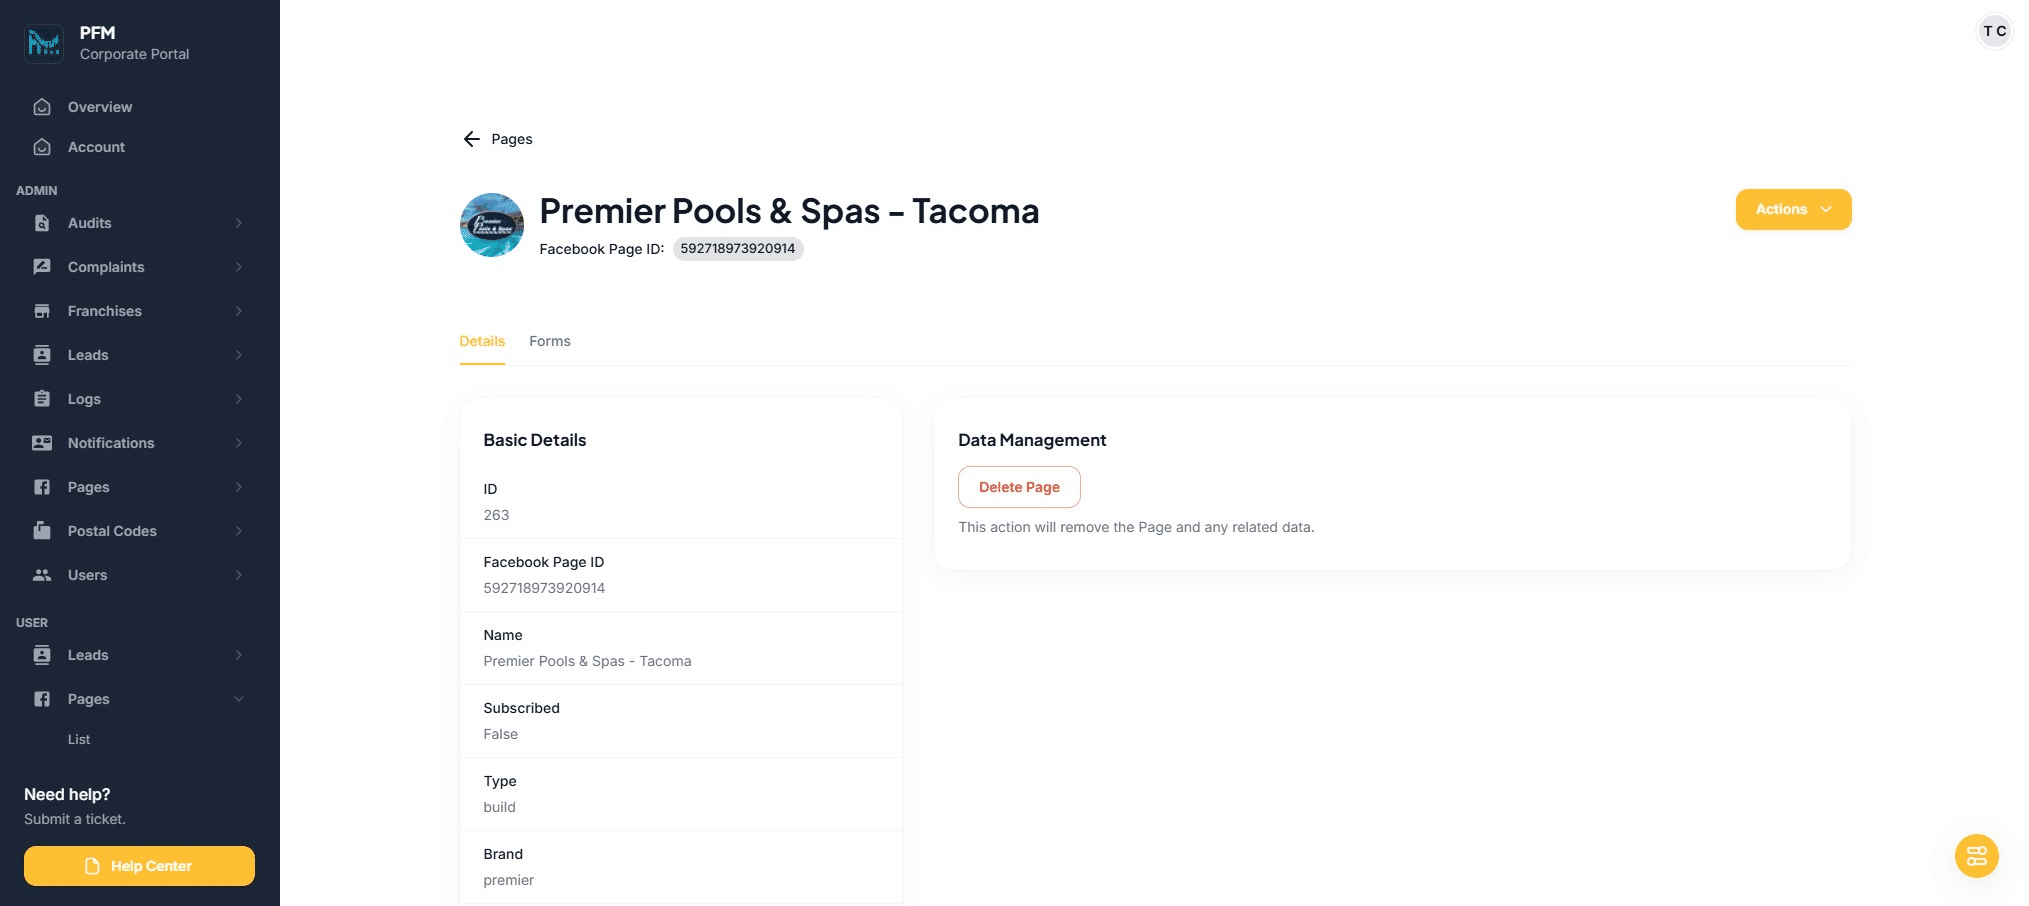
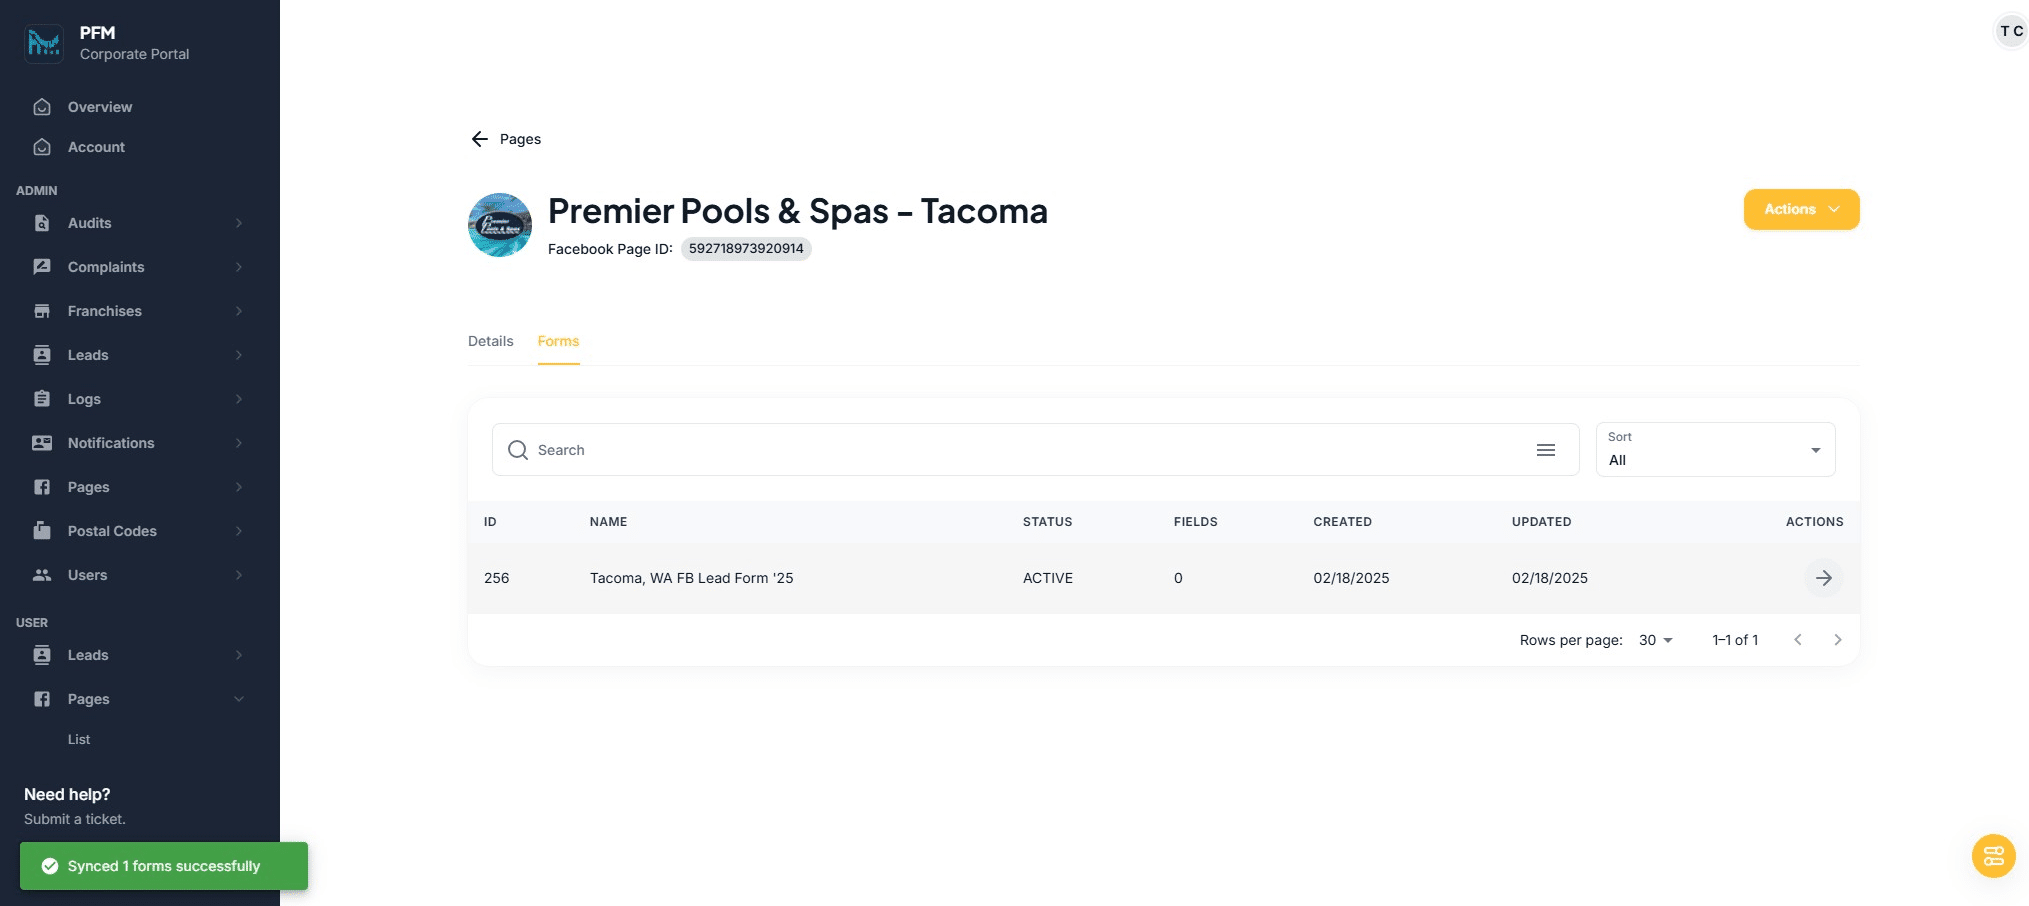
If newly or already synced - - Click the arrow
Click on "Forms"
Click this icon
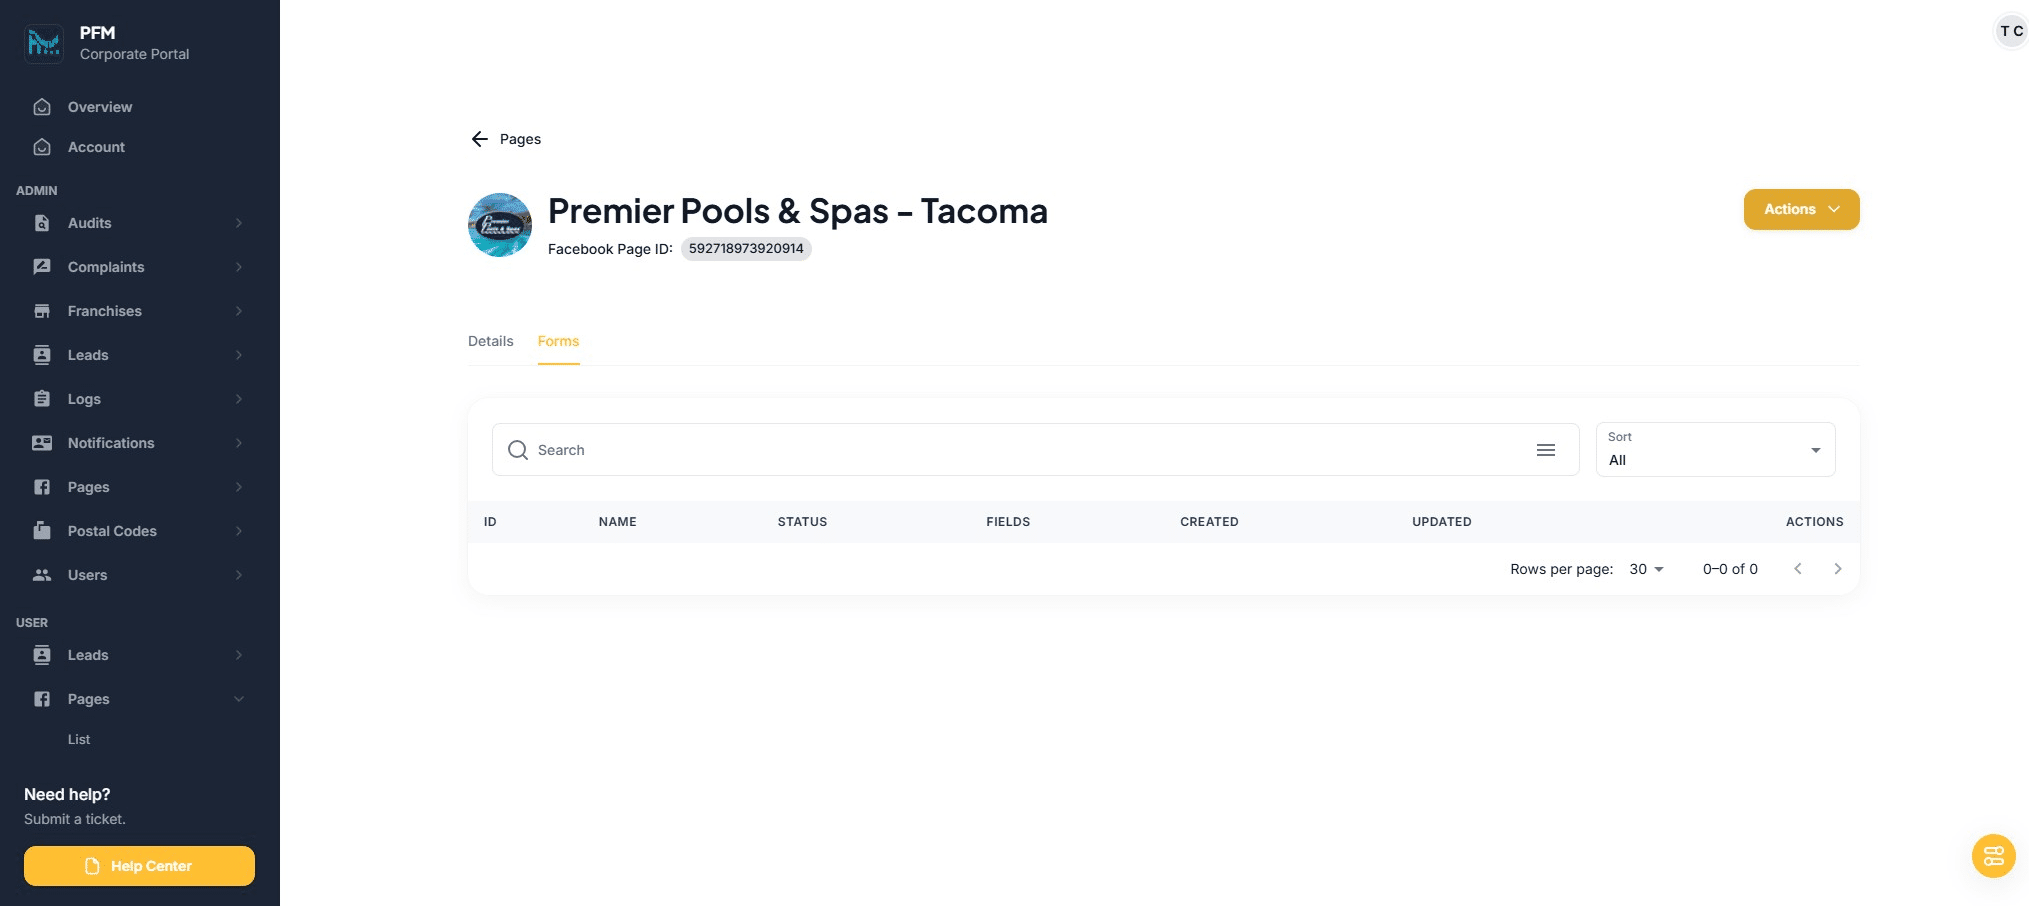
Click on "Sync Forms"

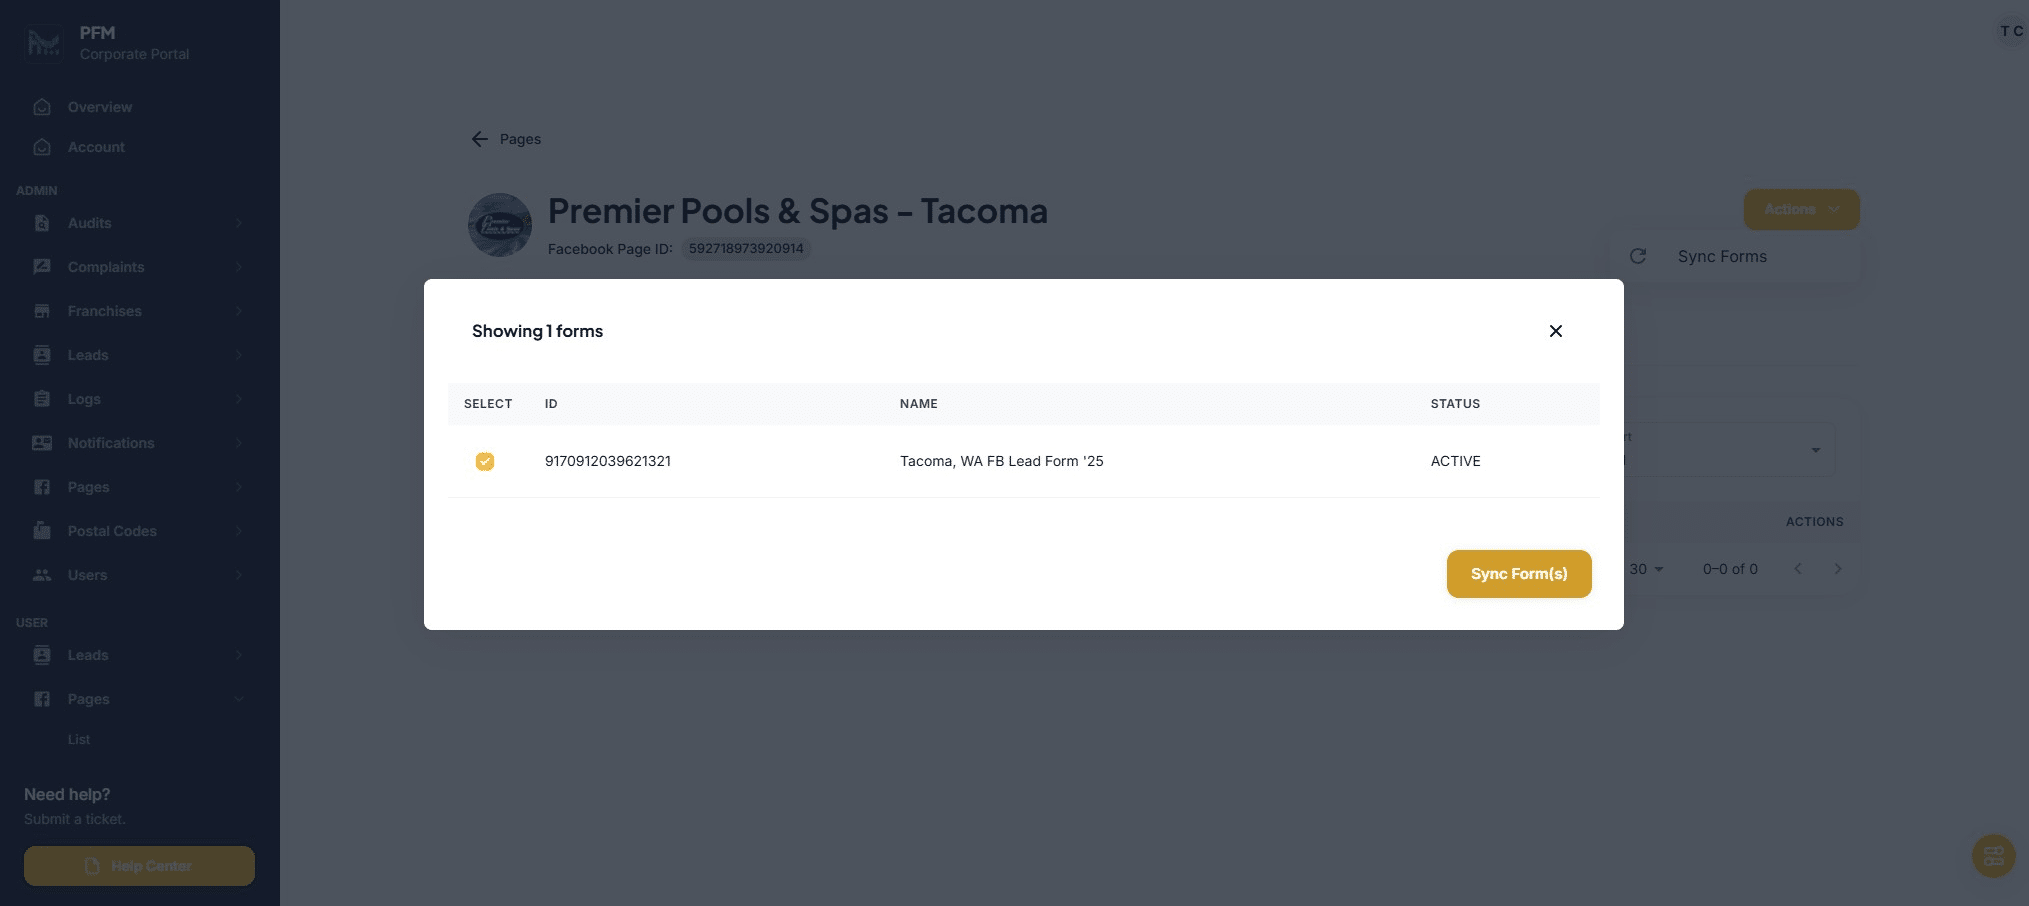
Choose the appropriate form
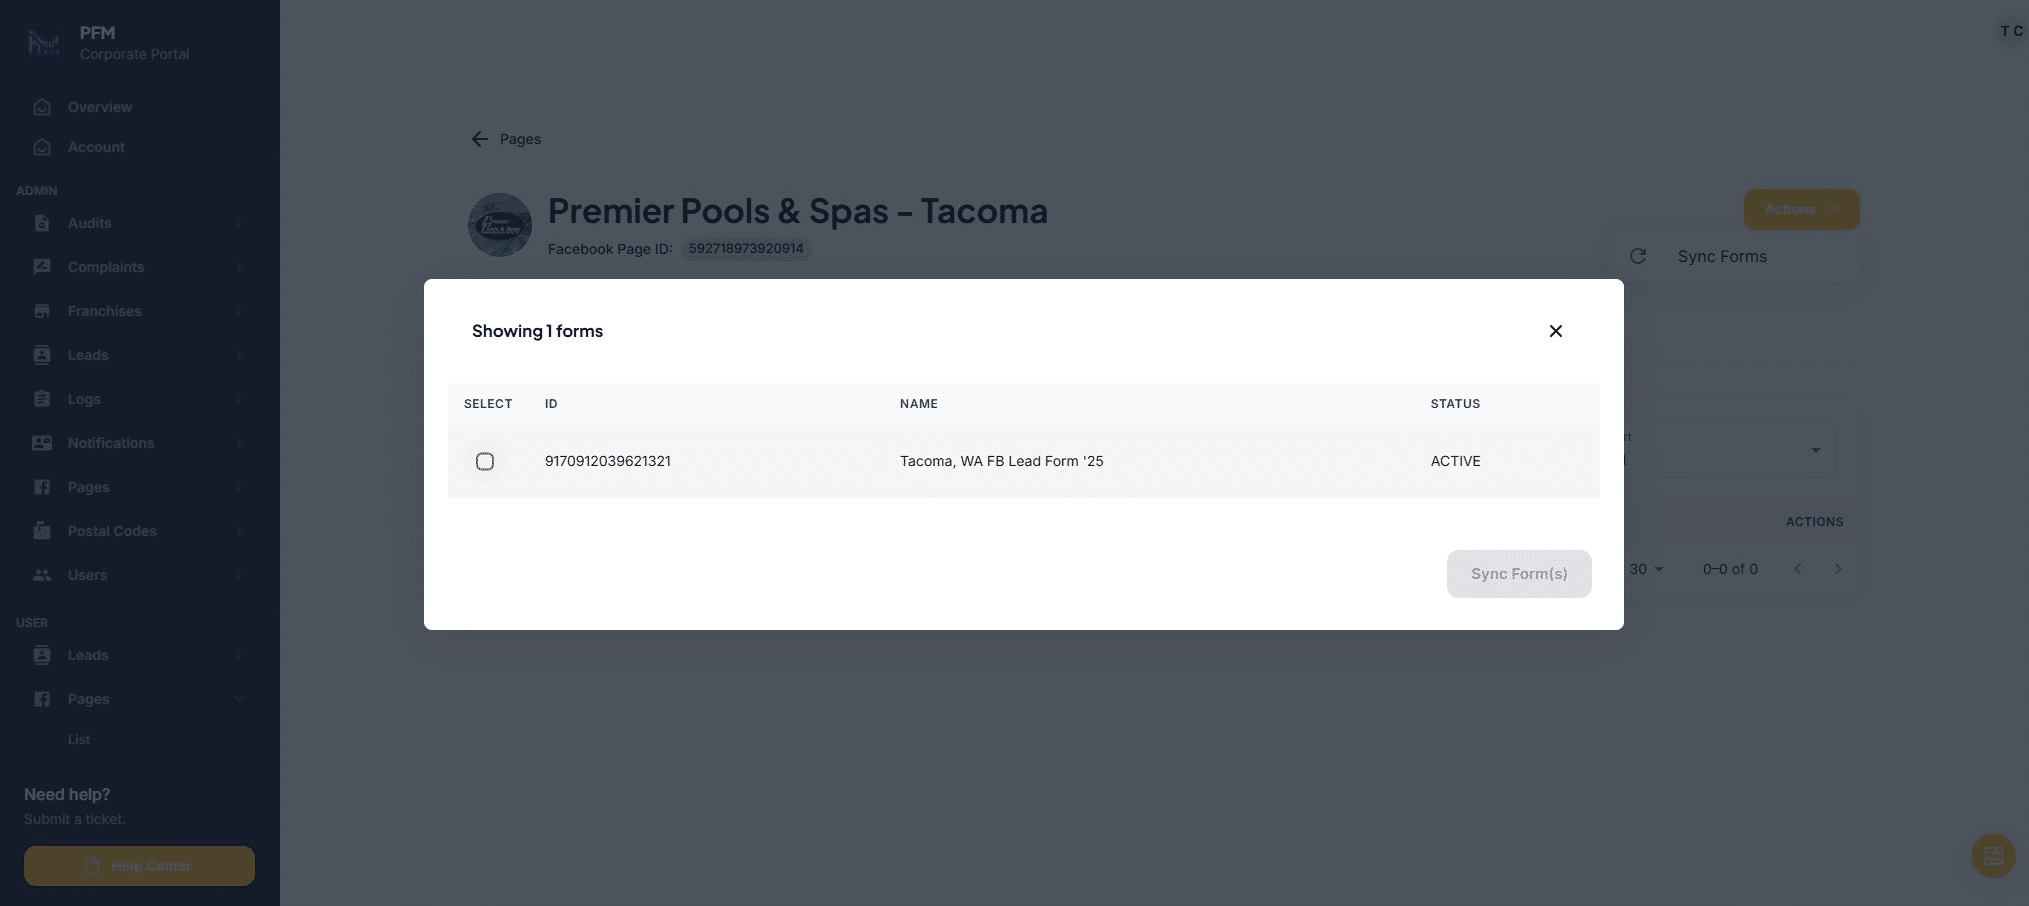
Click on "Sync Form(s)"
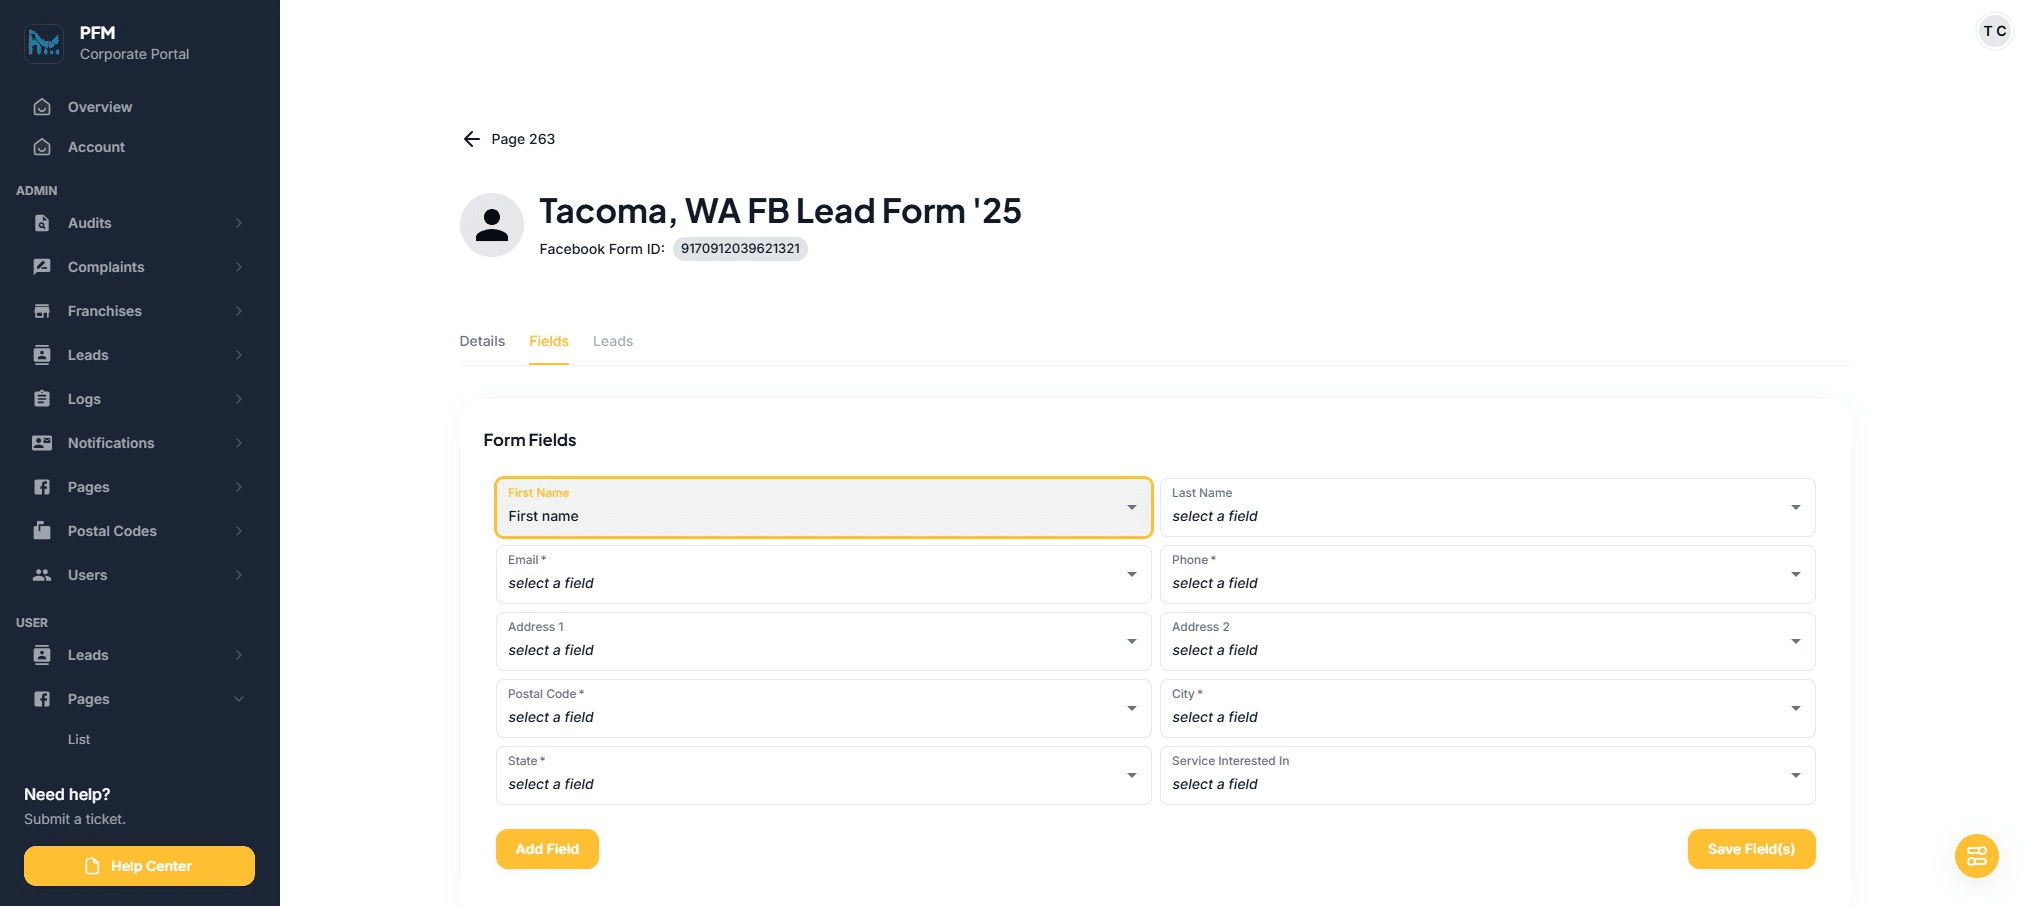
Click the arrow next to the synced form
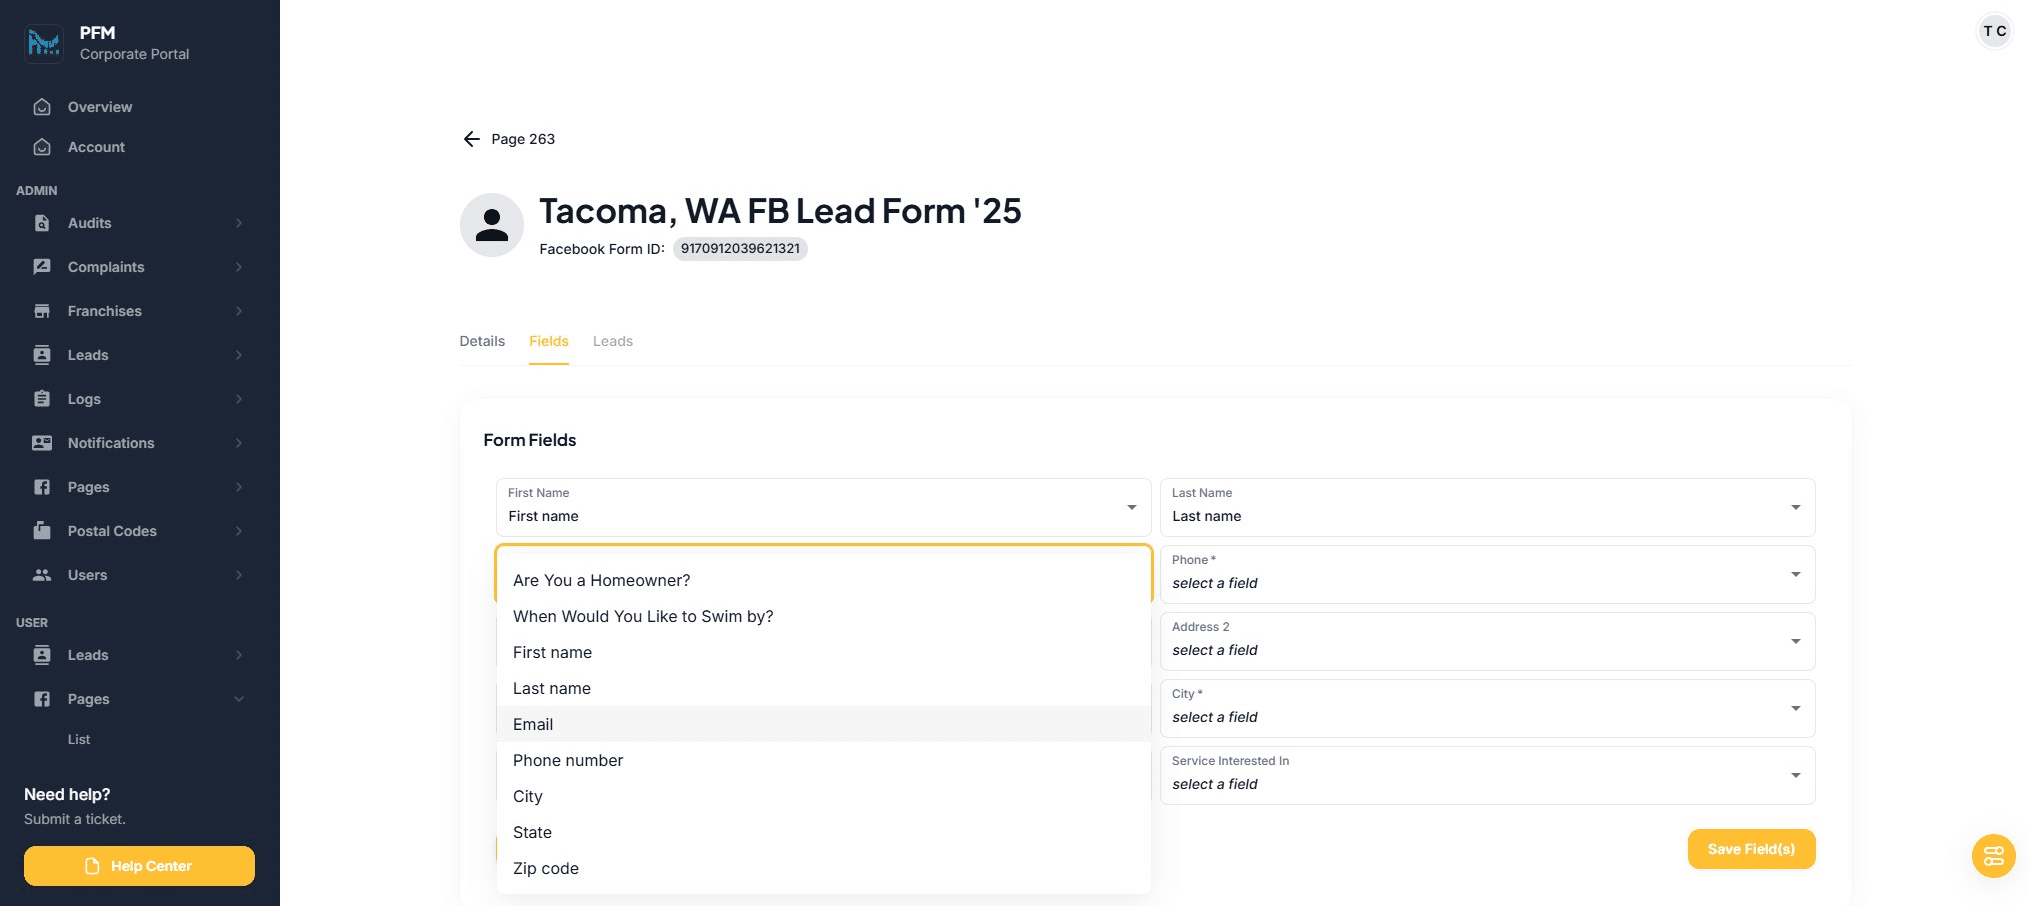
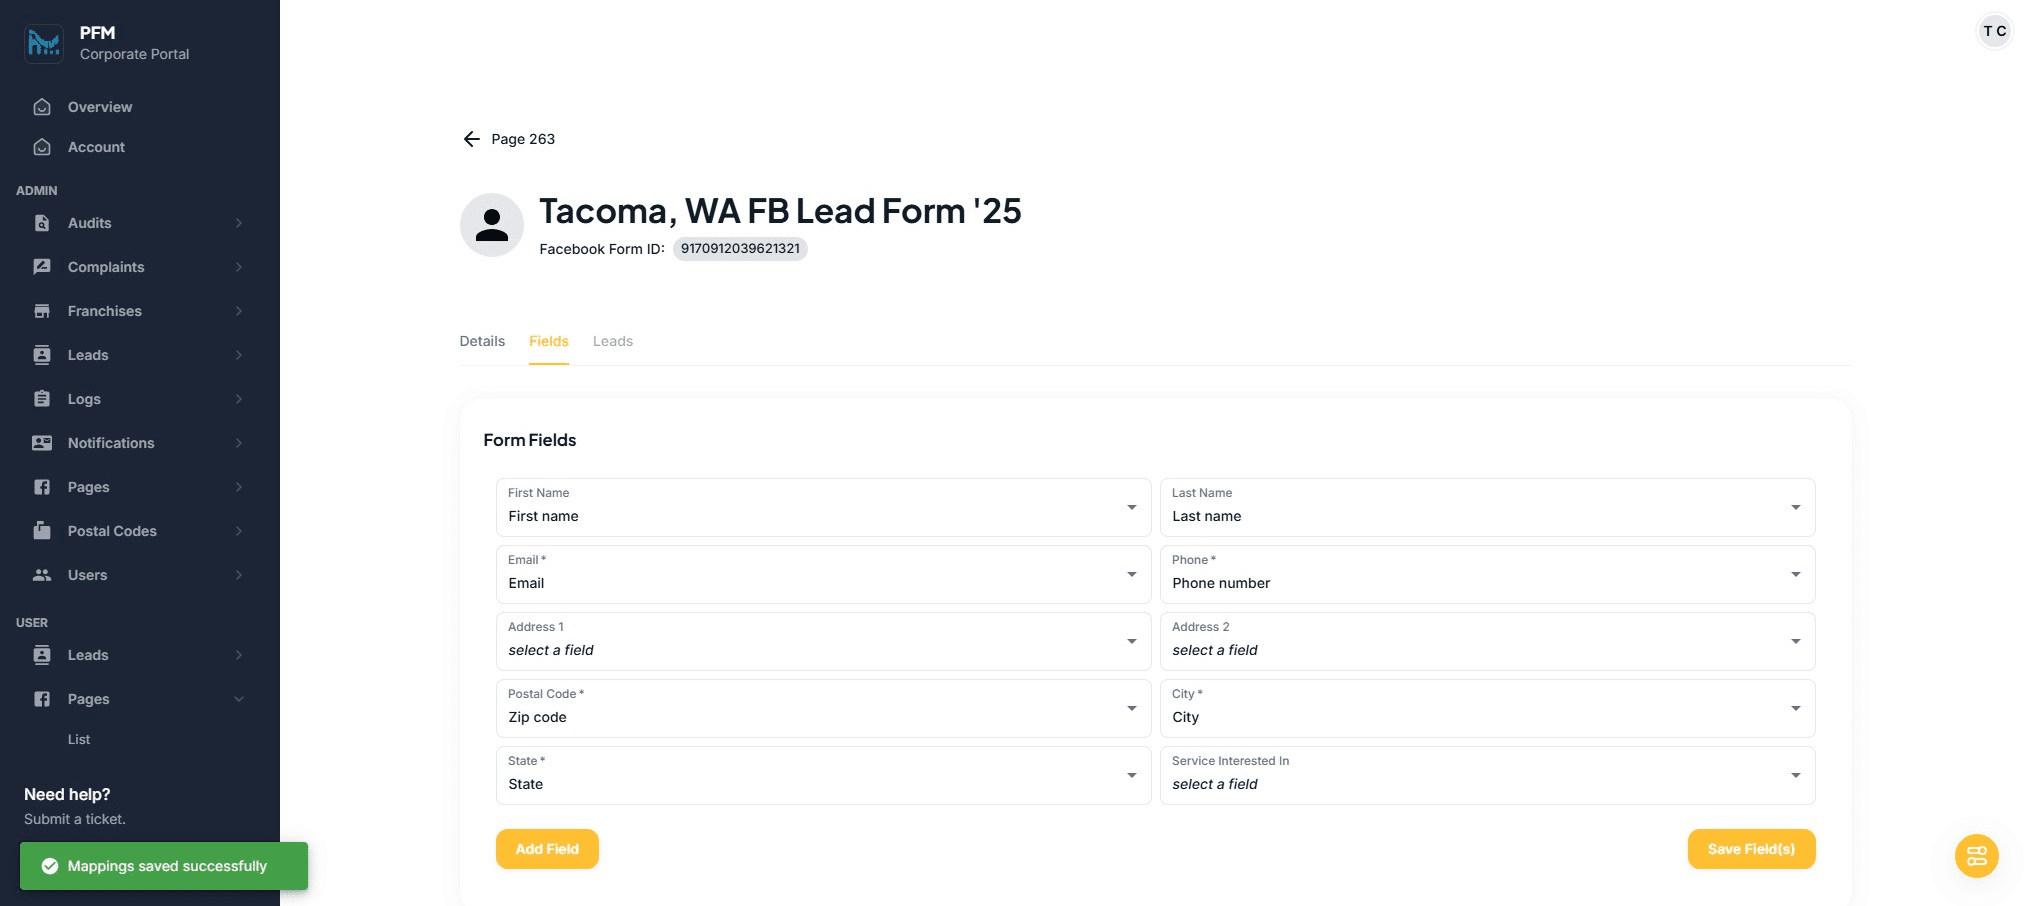
Click on "Fields"

Map the form fields to the appropriate headers

Click on "First name"

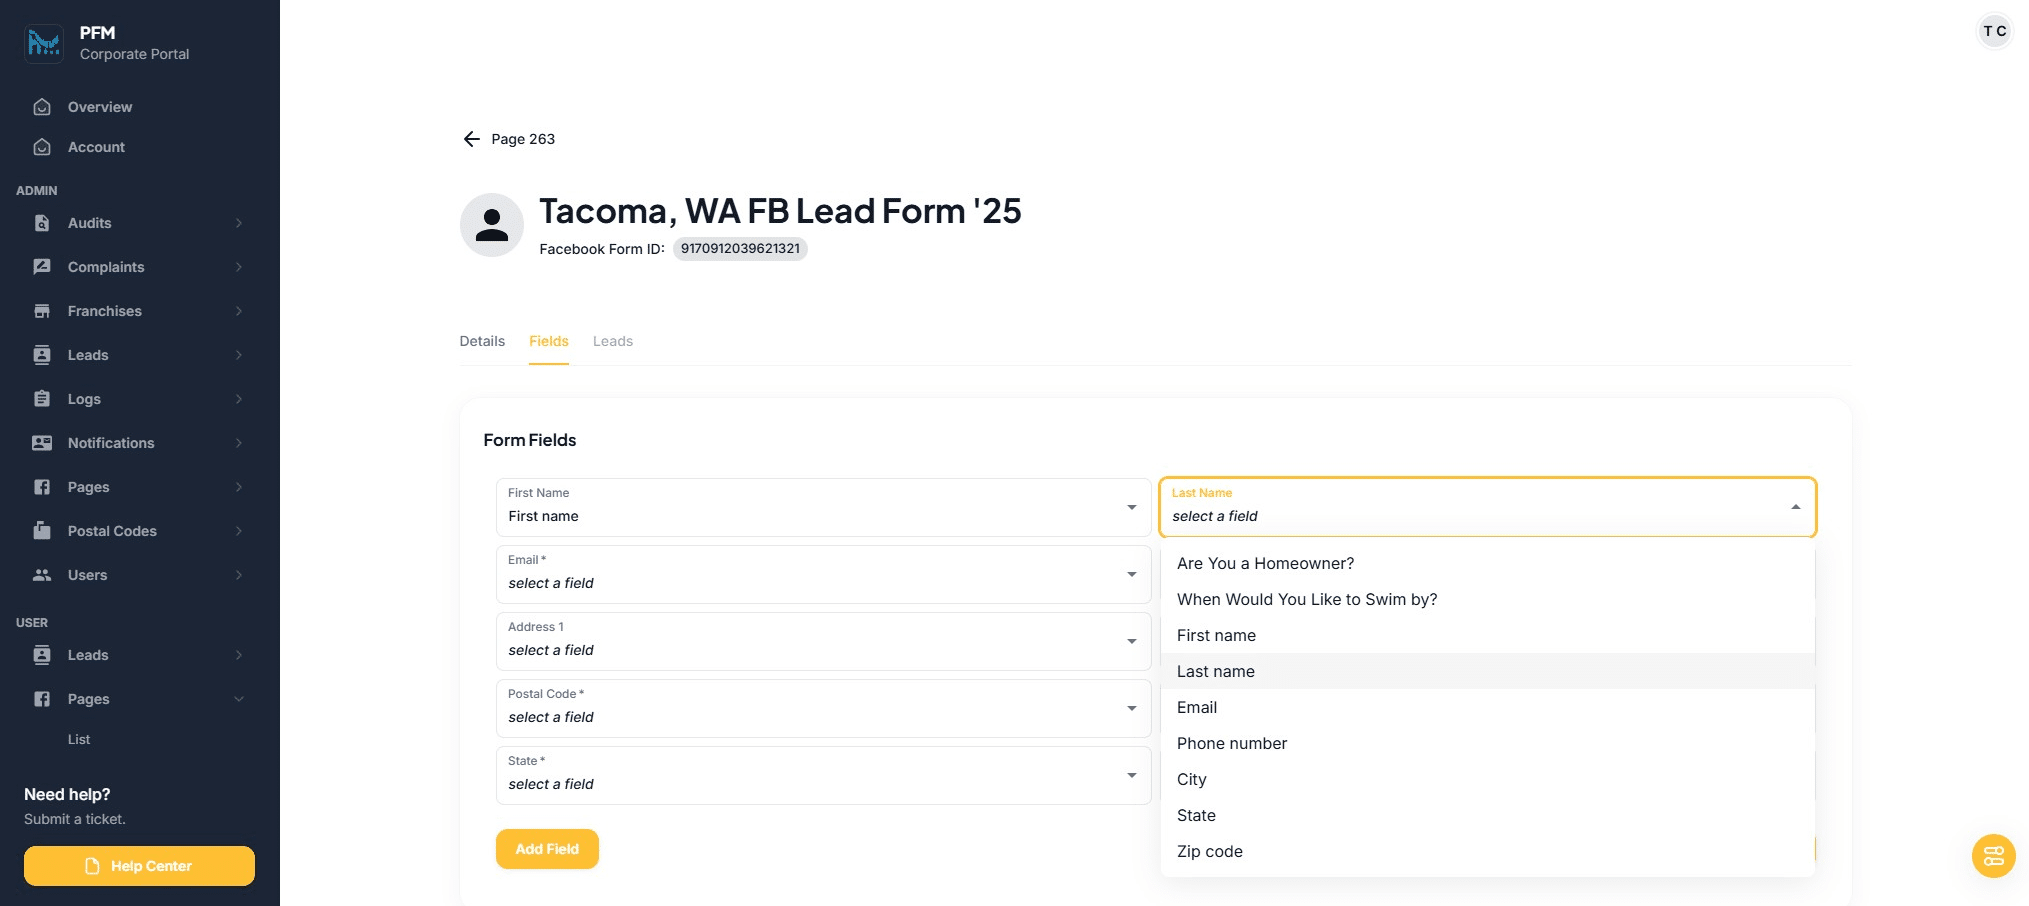
Click on "Last Name"
Click on "select a field"

Click on "Last name"
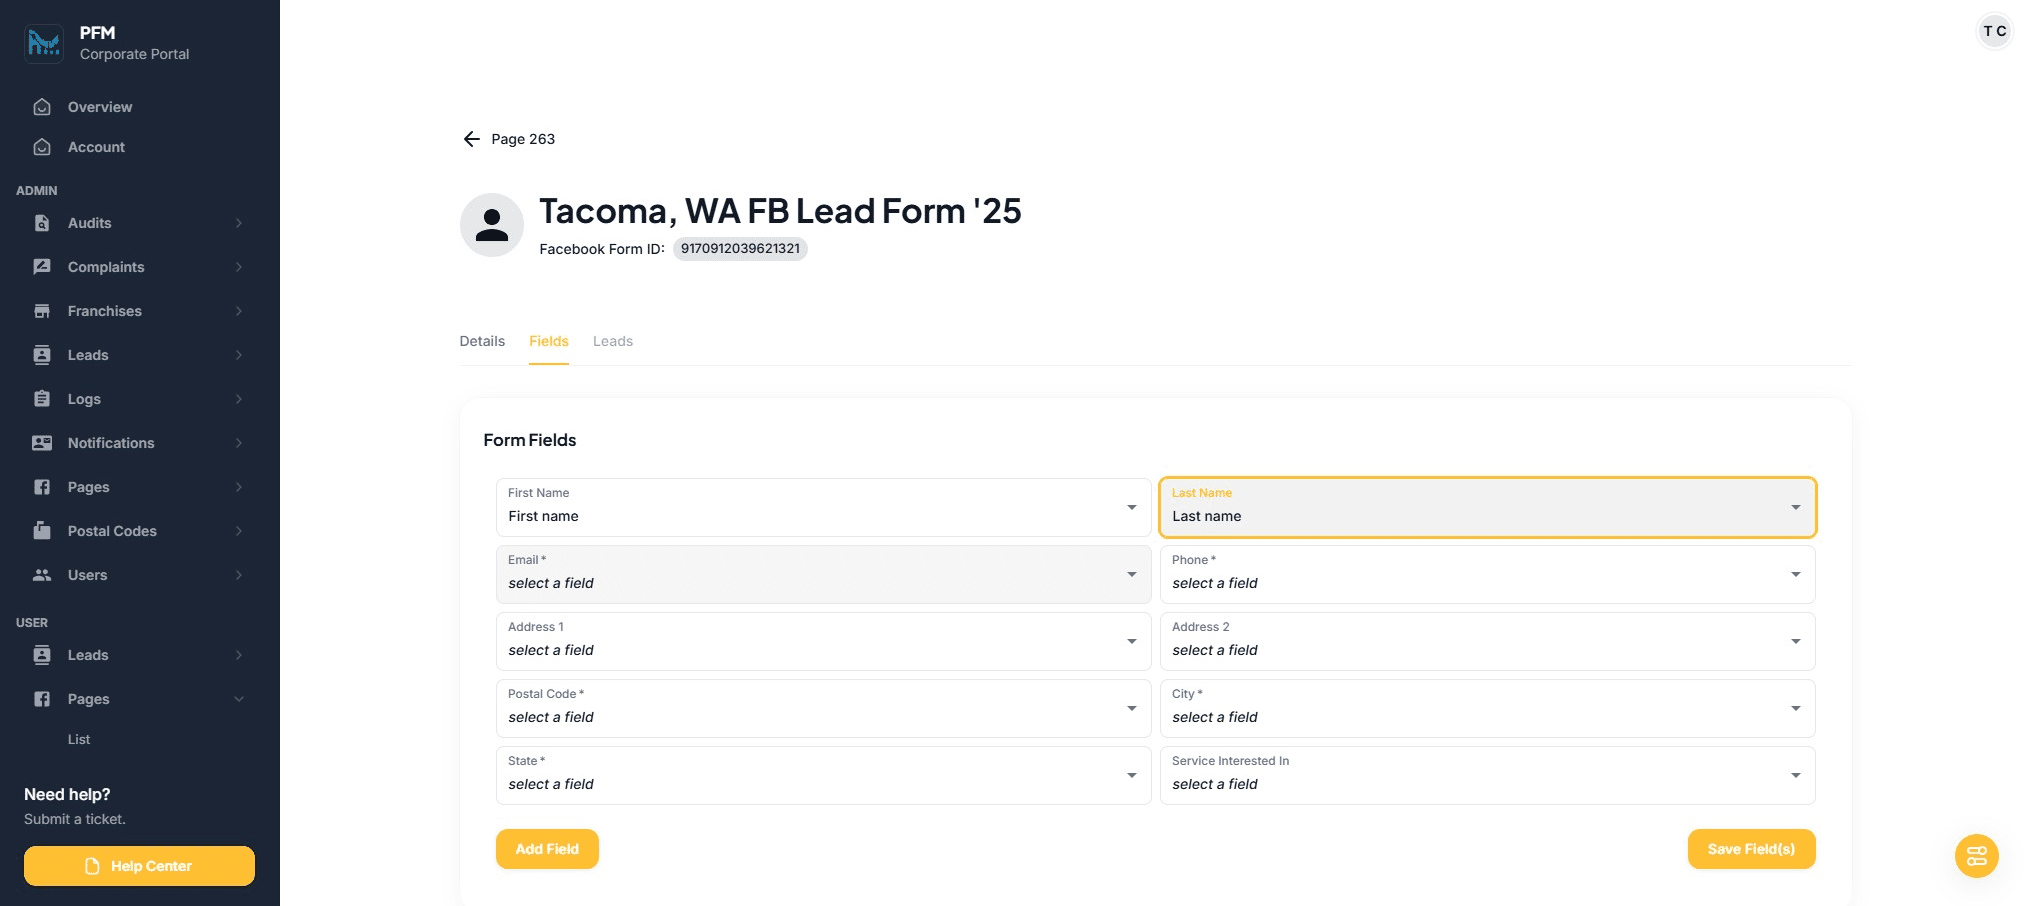
Click on "select a field"
Click on "Email"
Click on "select a field"
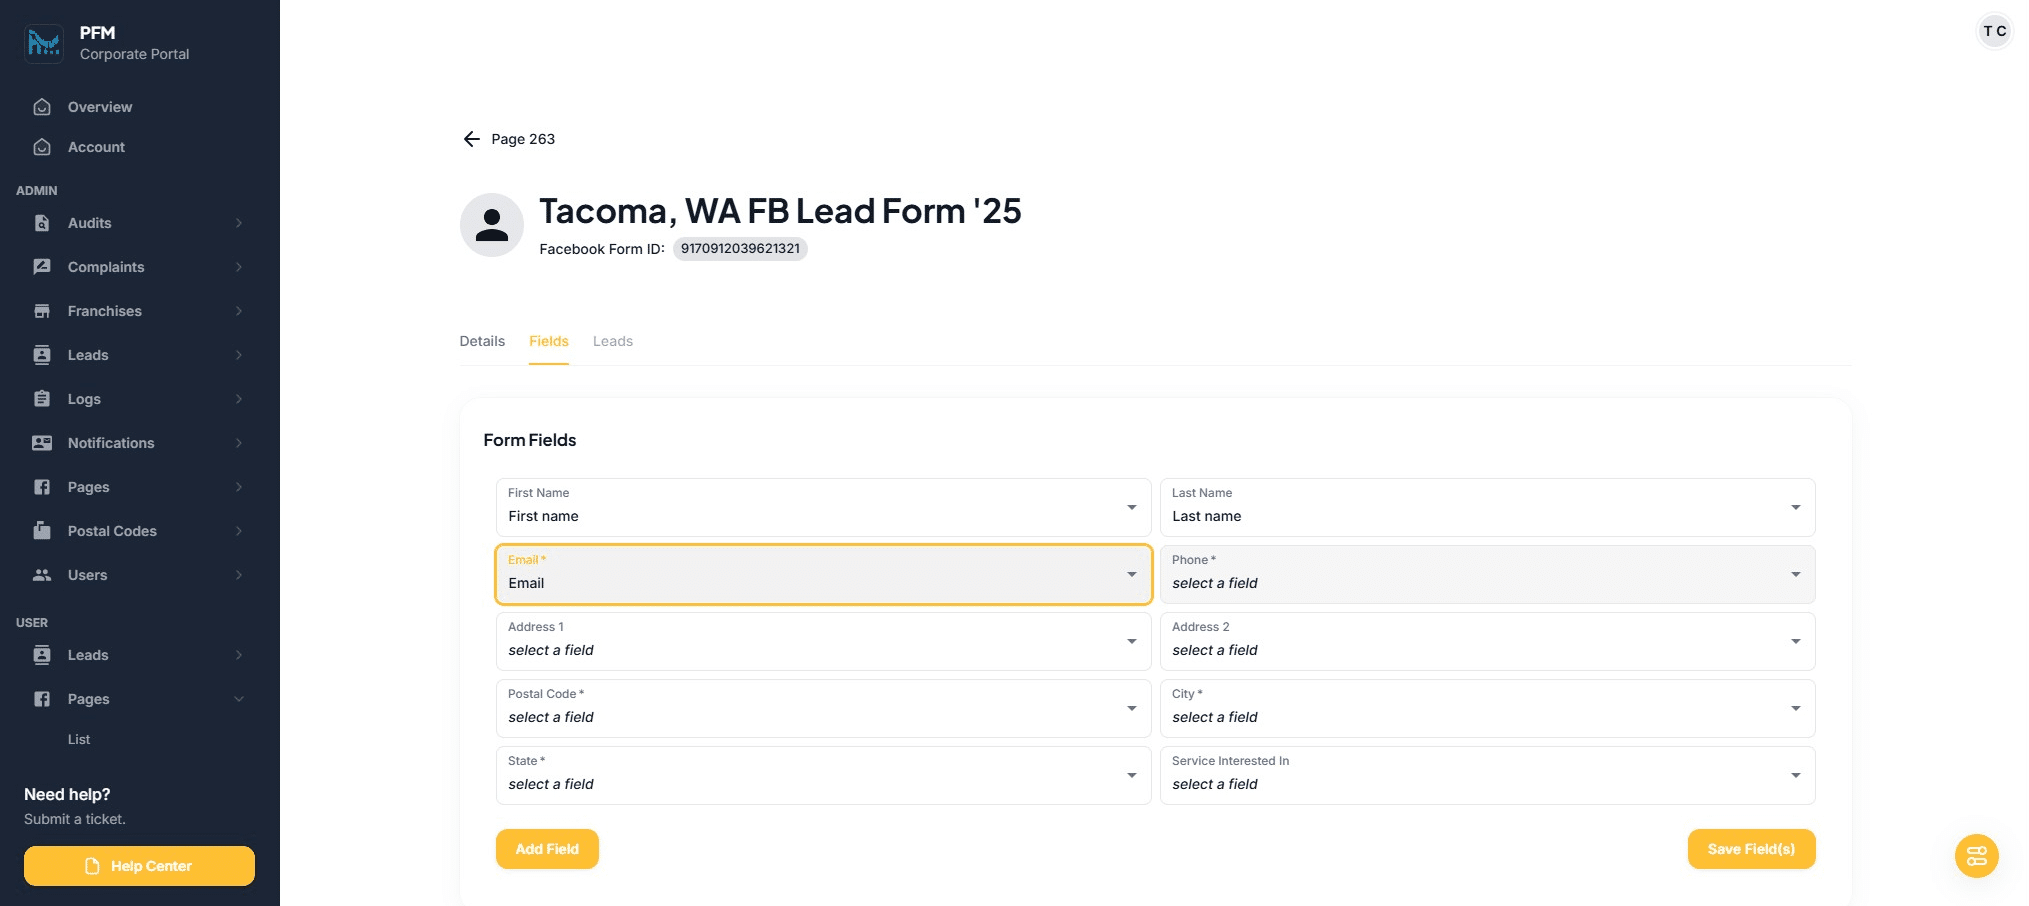
Click on "Phone number"

Click on "select a field"
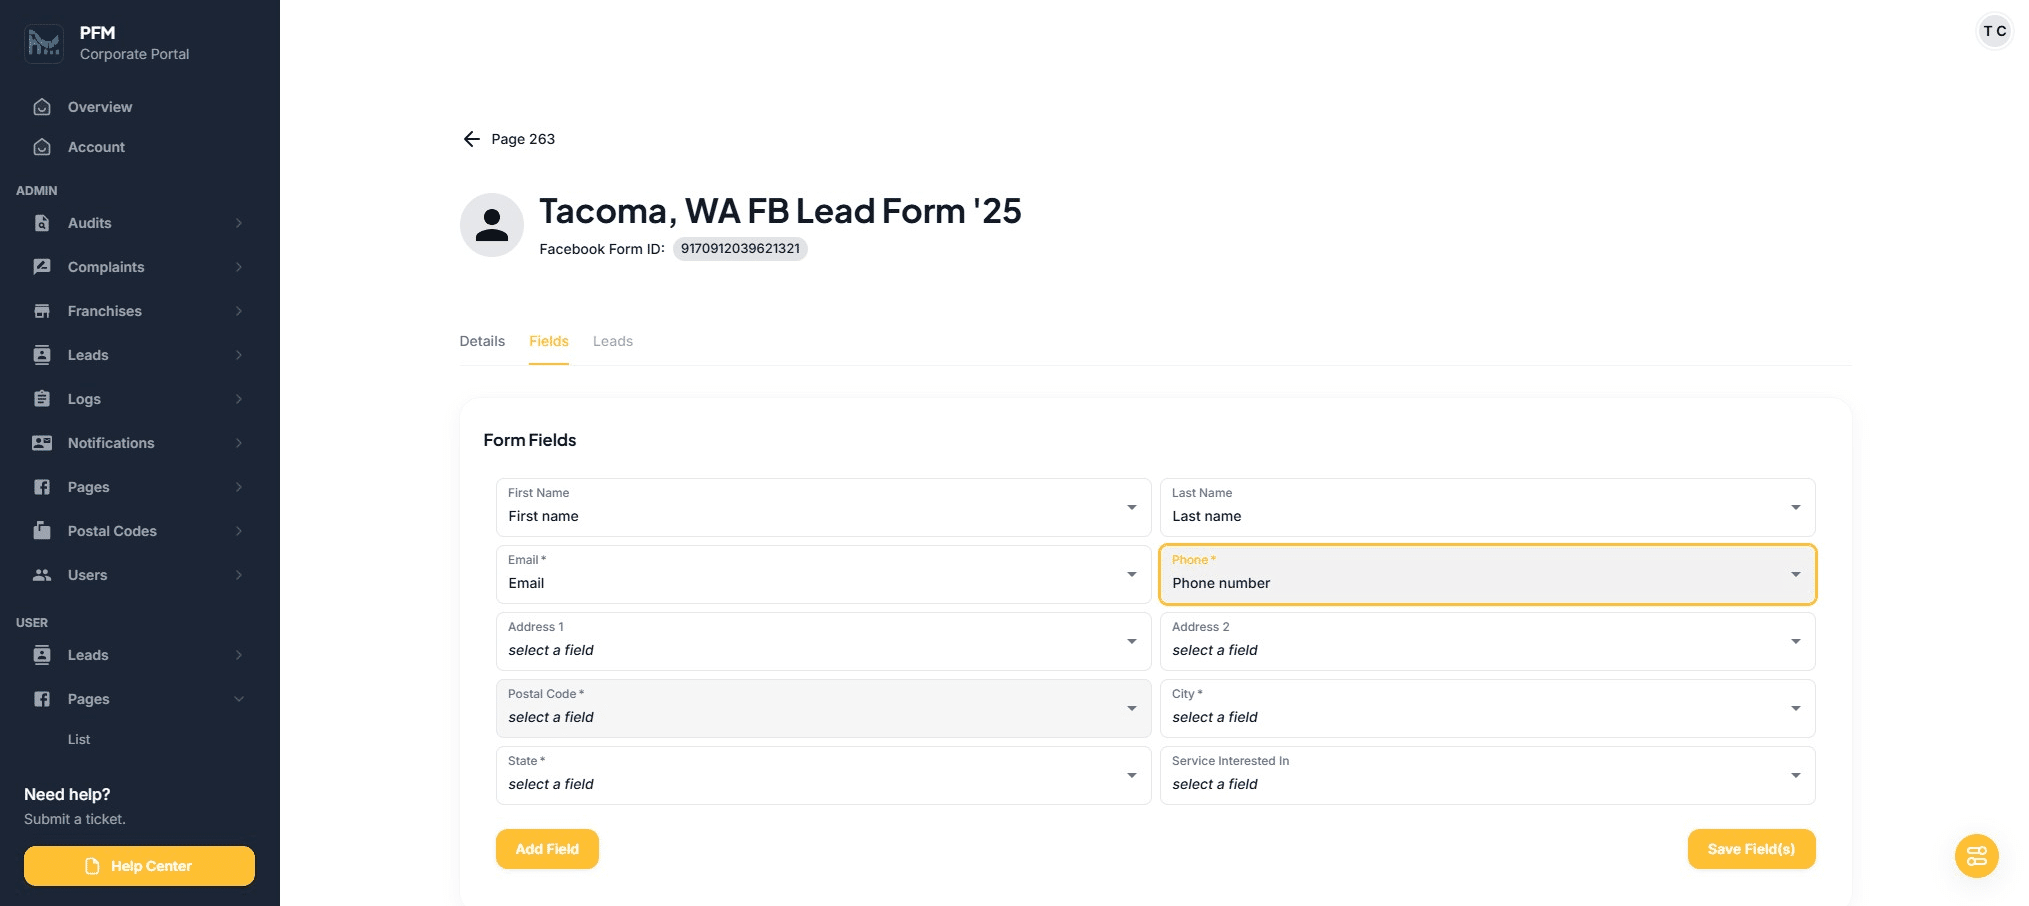
Click on "Zip code"

Click on "select a field"
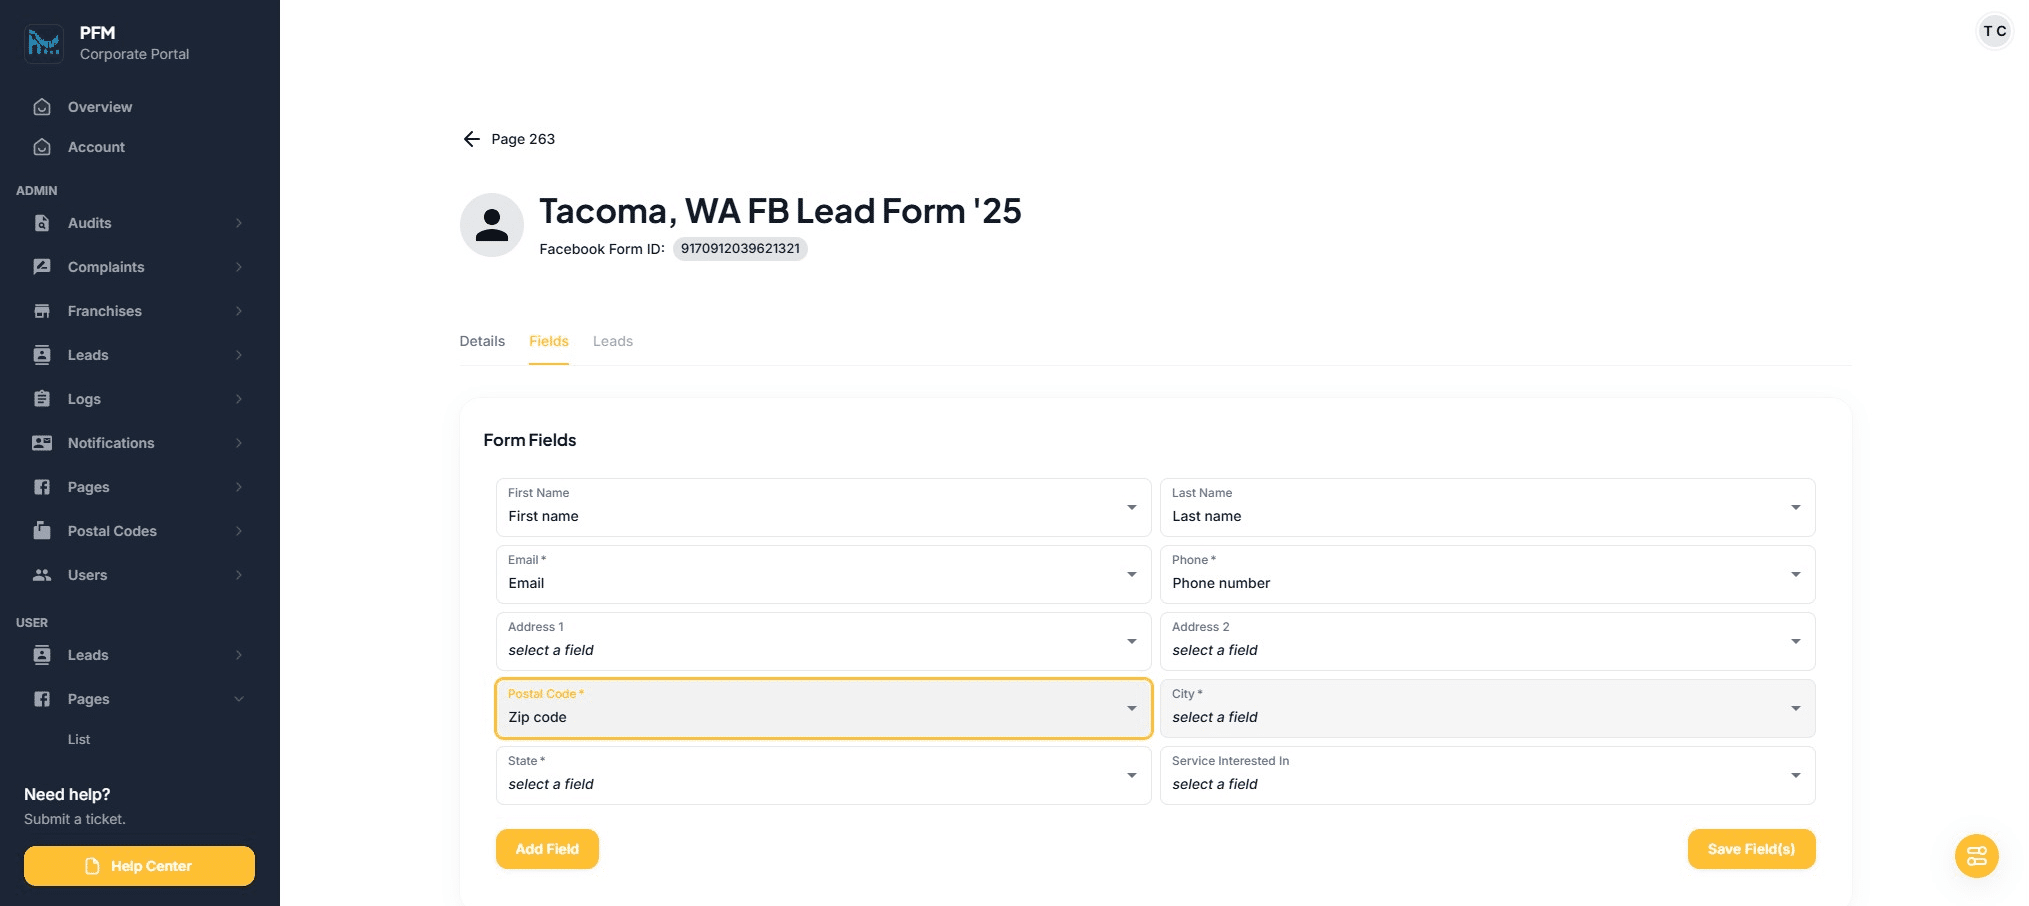
Click on "City"
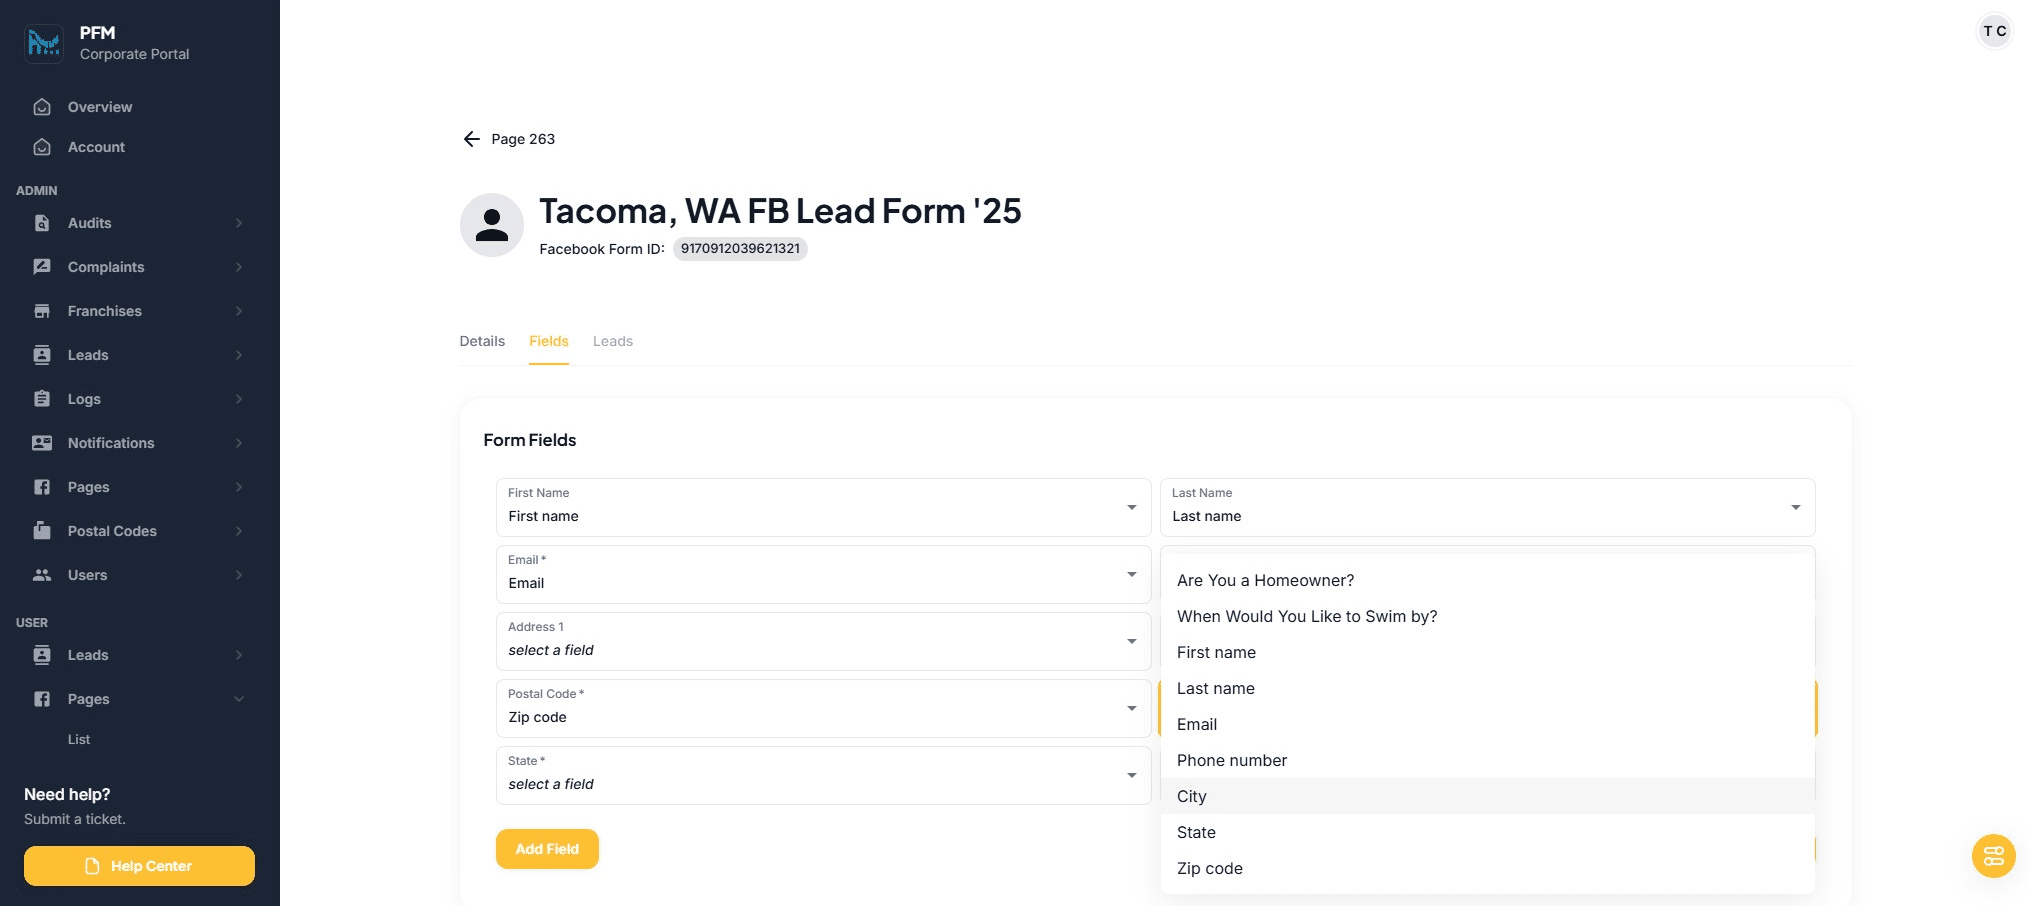
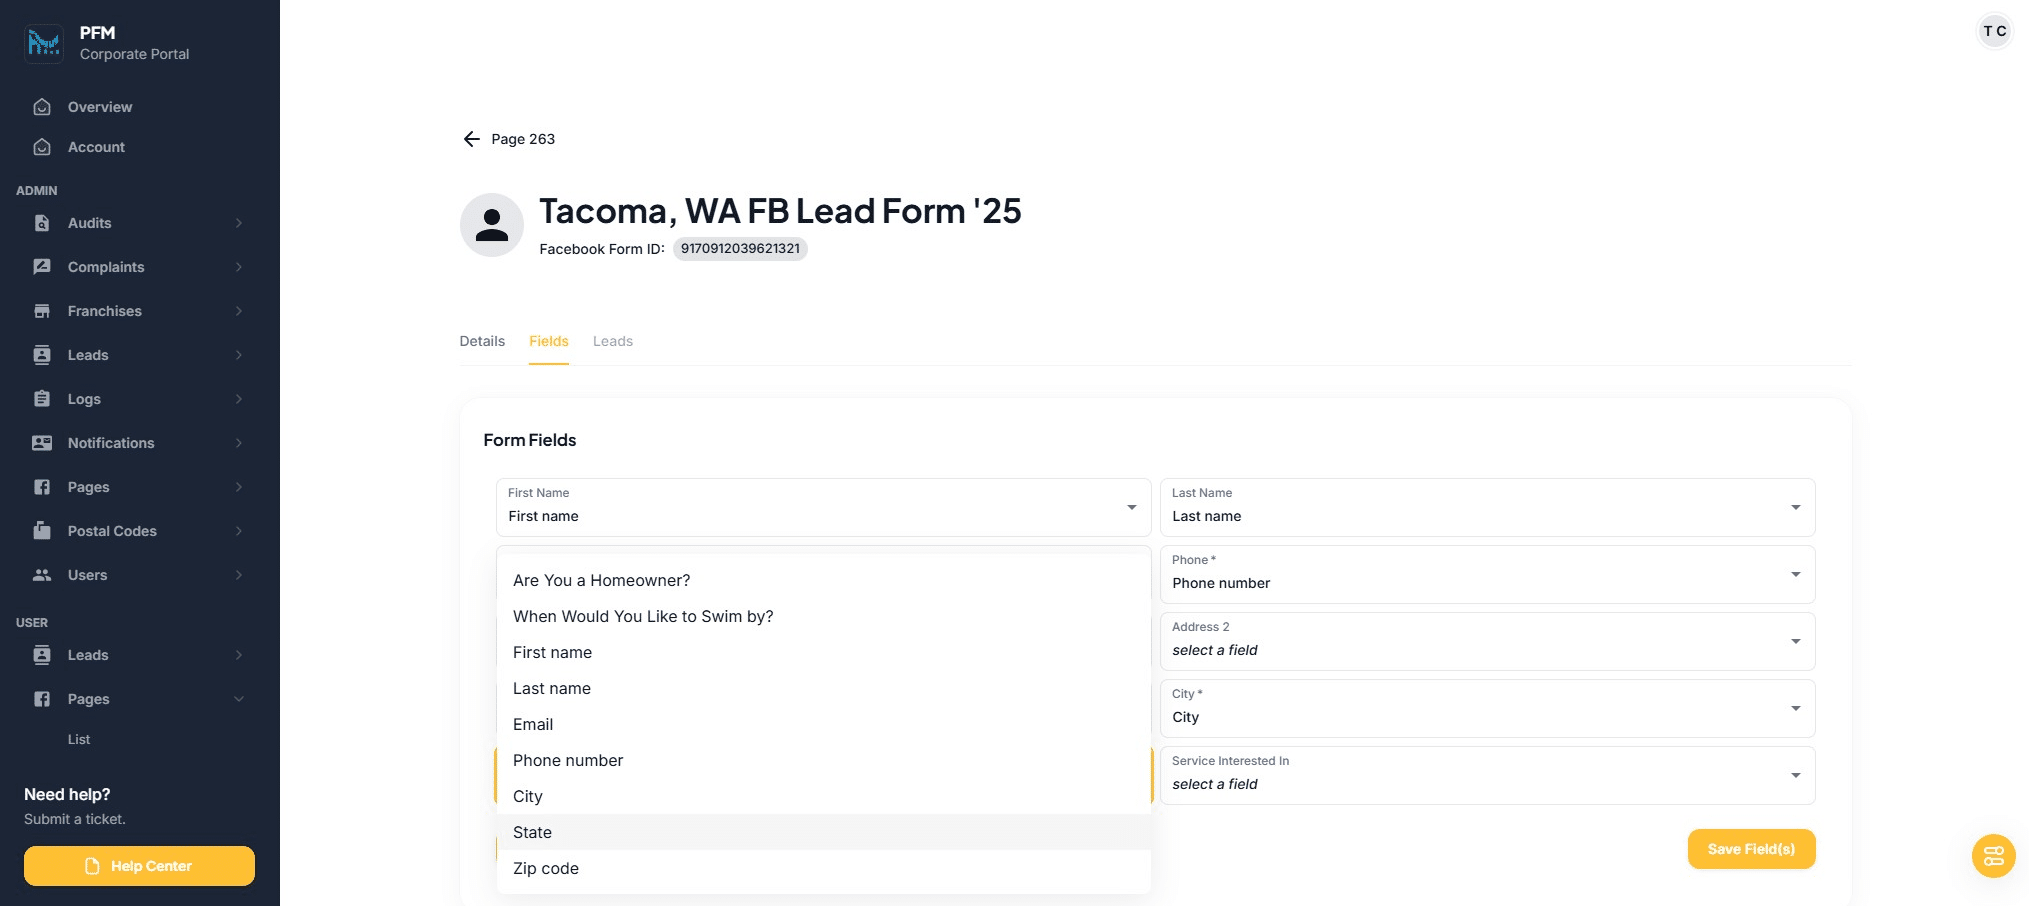
Click on "select a field"
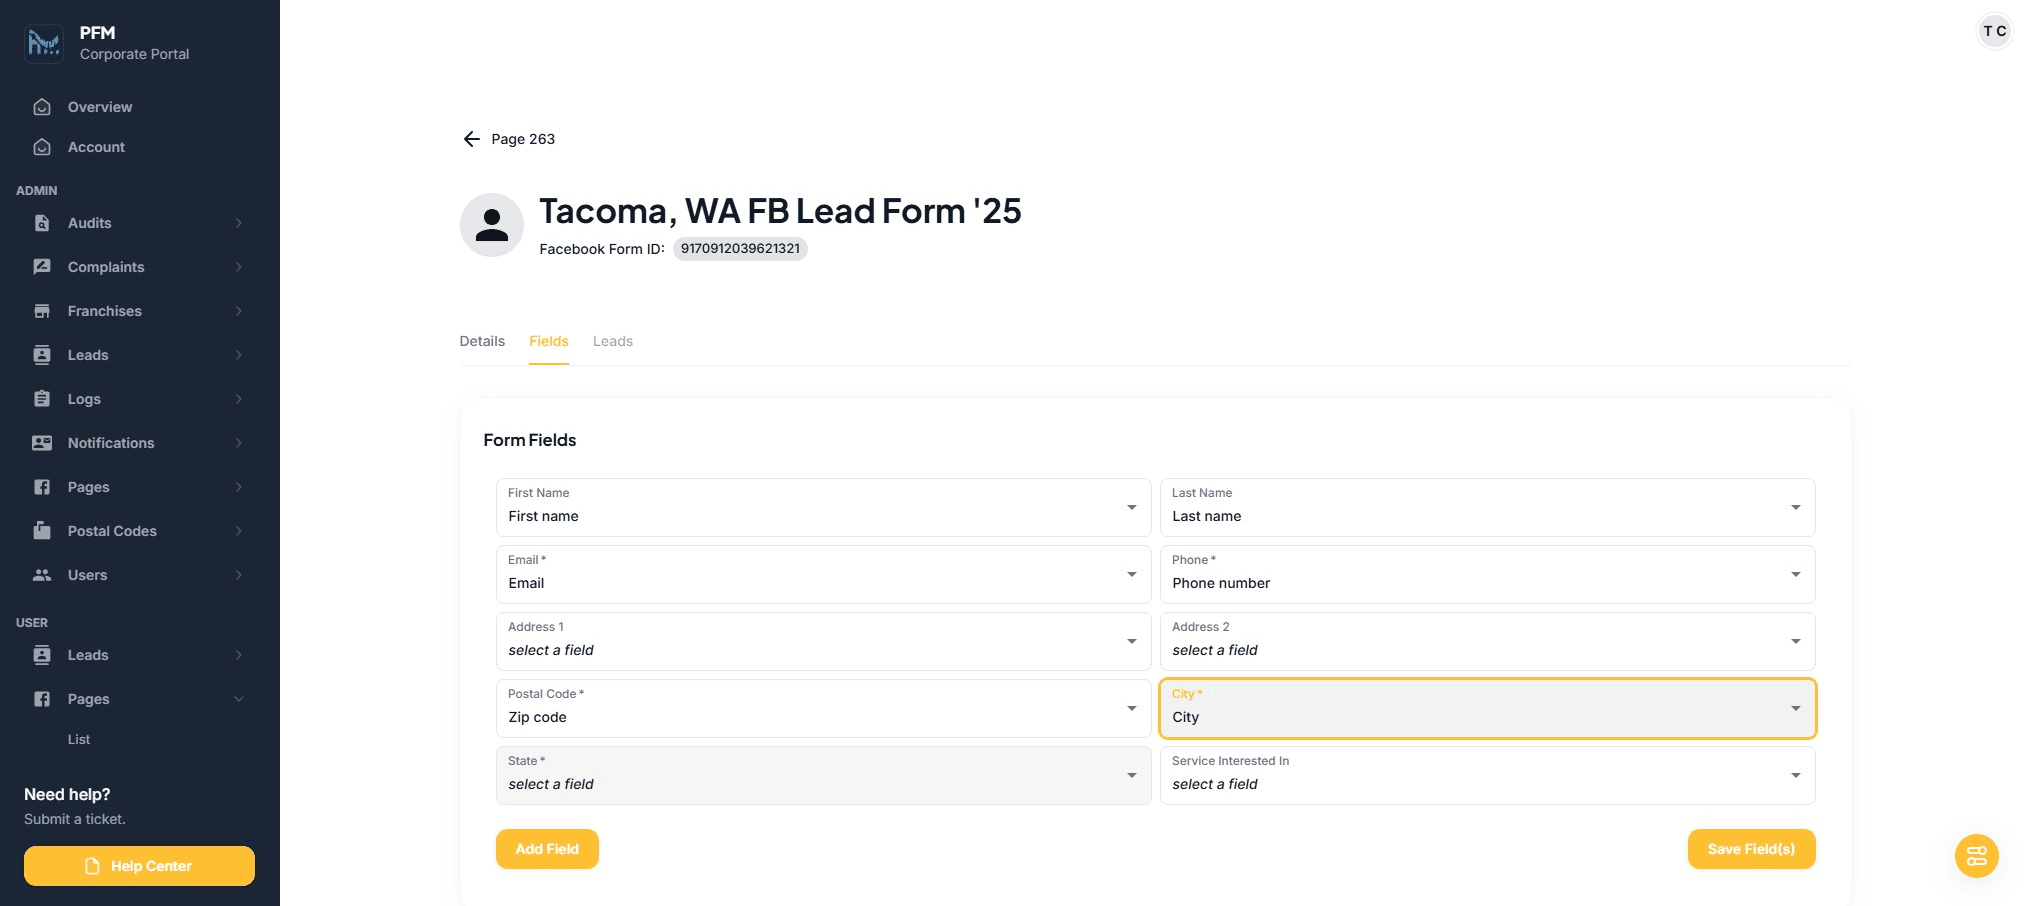
Click on "State"
Click on "Save Field(s)"
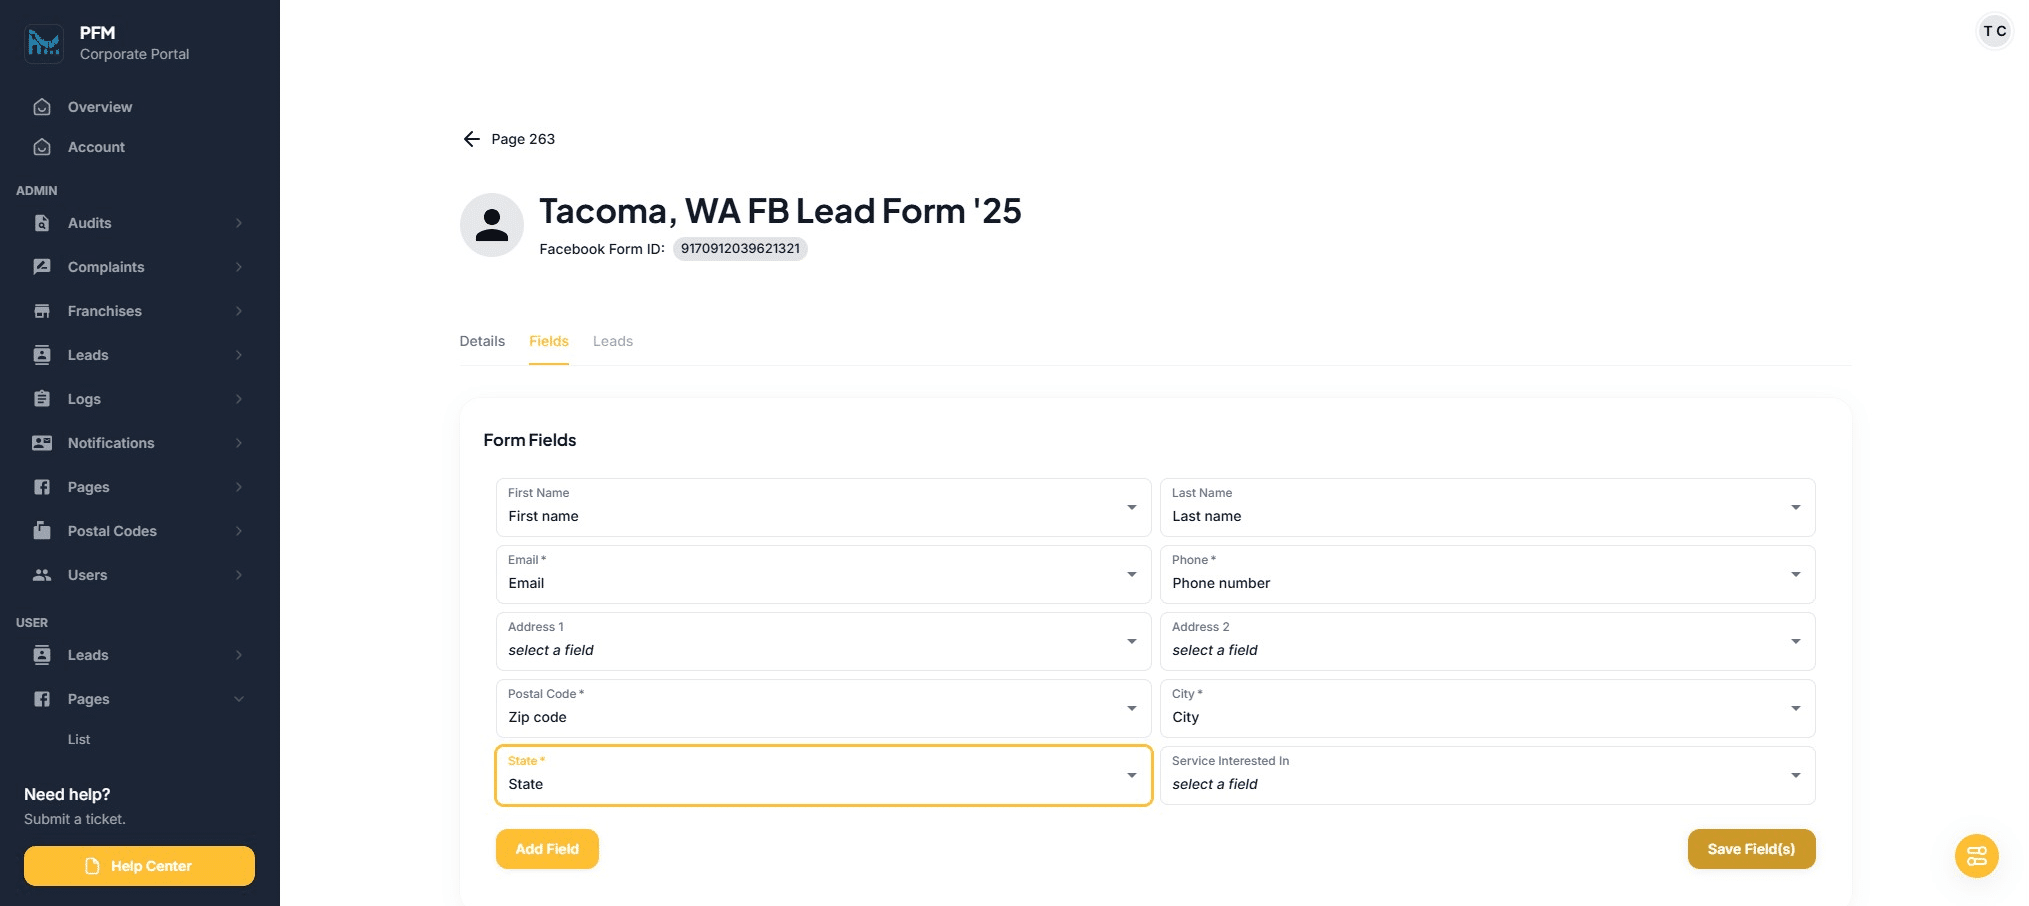
Required fields are First Name, Last Name, Email, Phone Number, Postal Code, City, and State. The rest of the fields may or may not have data from the Facebook form to map.
You should see this confirmation message.
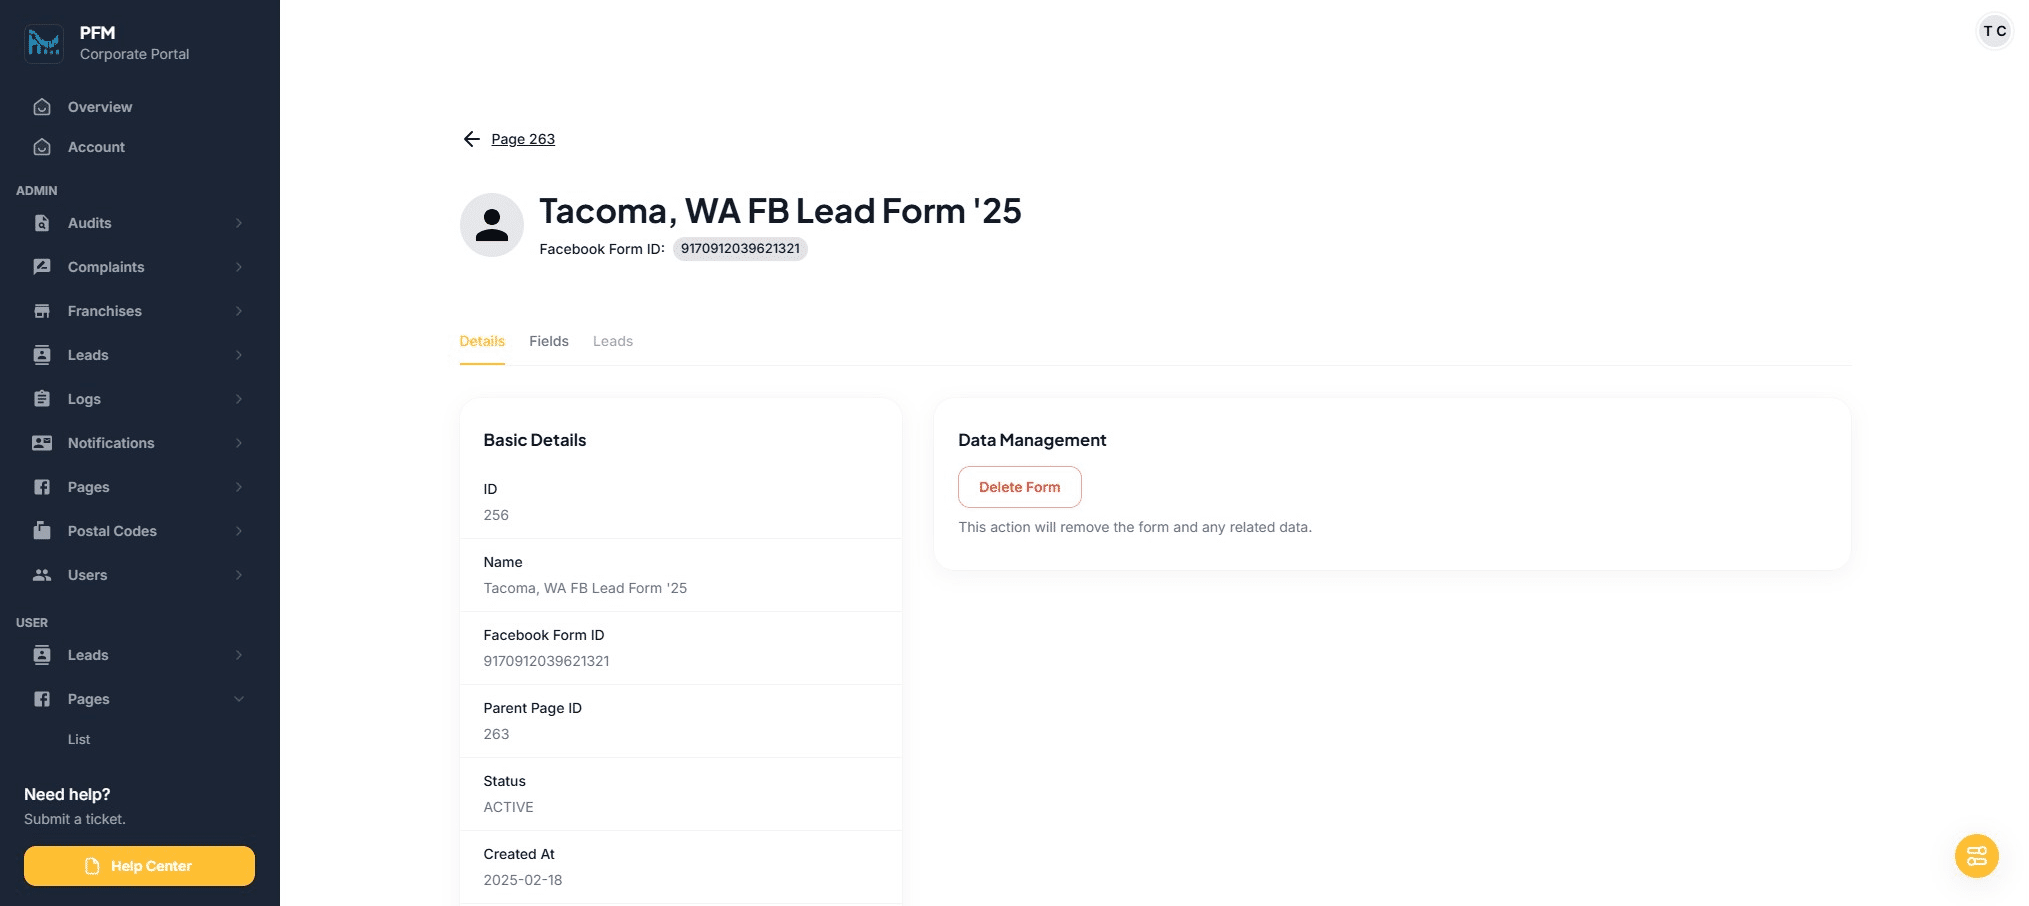
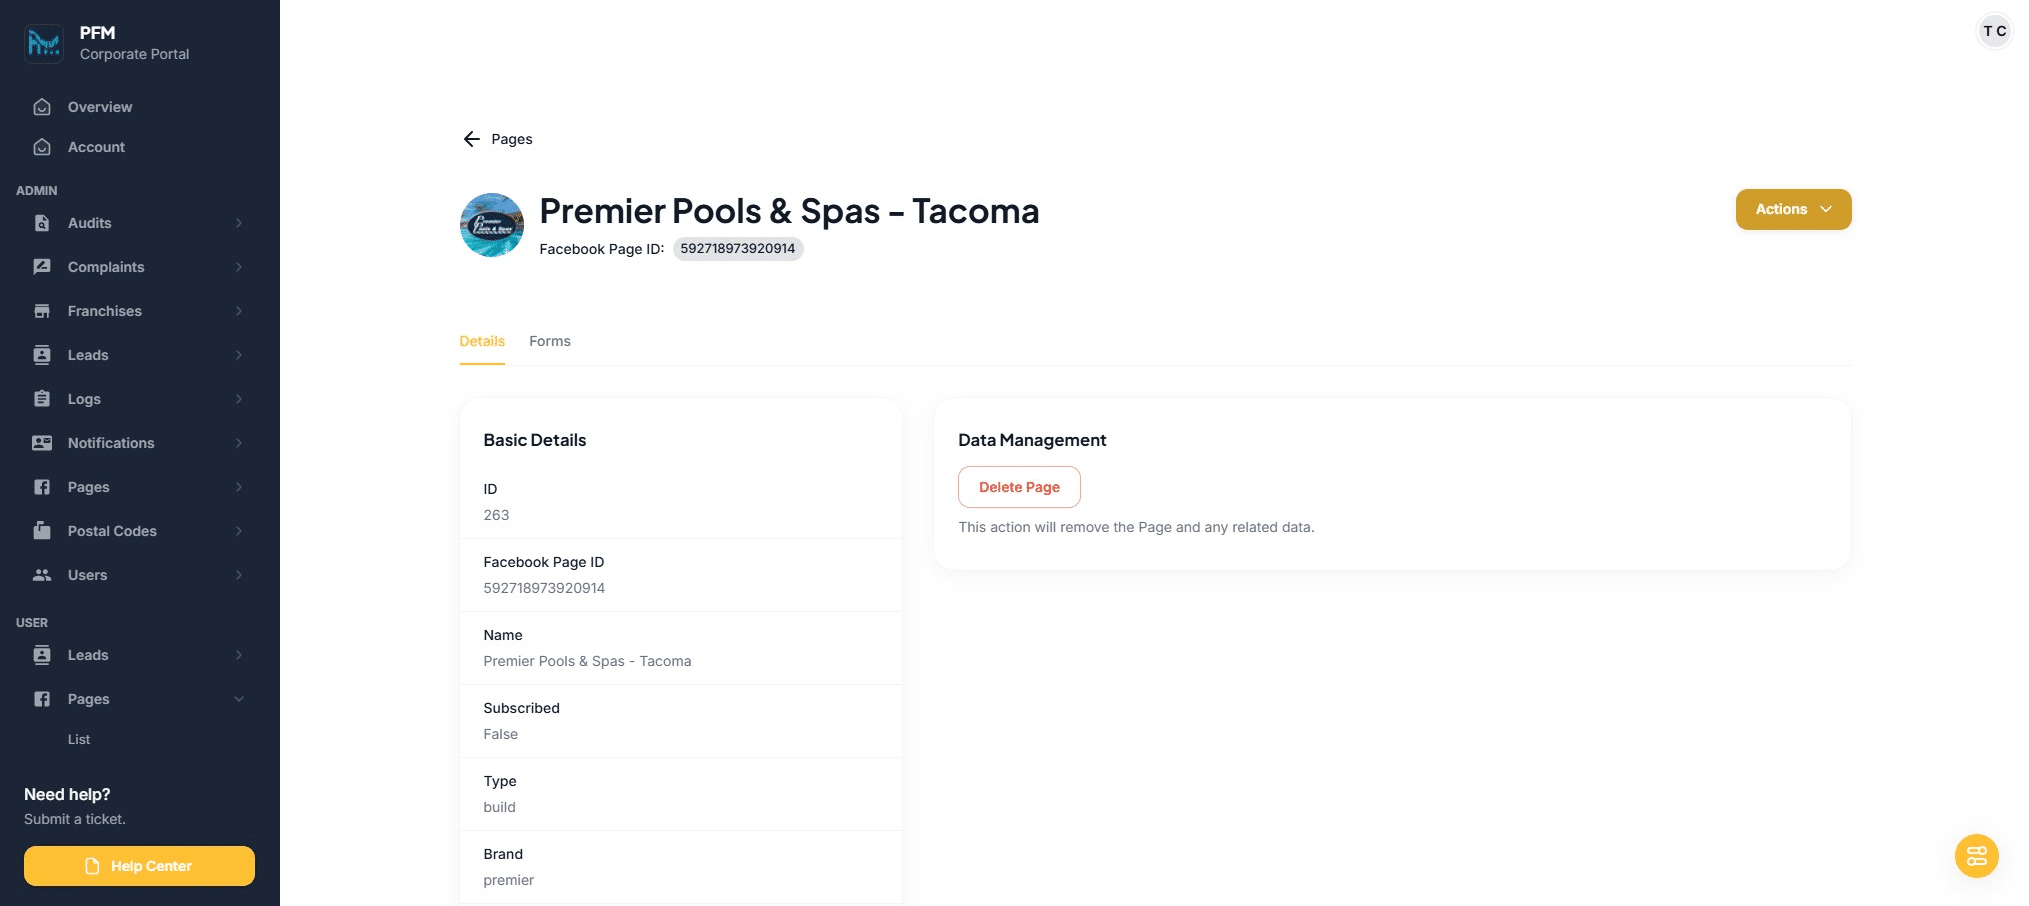
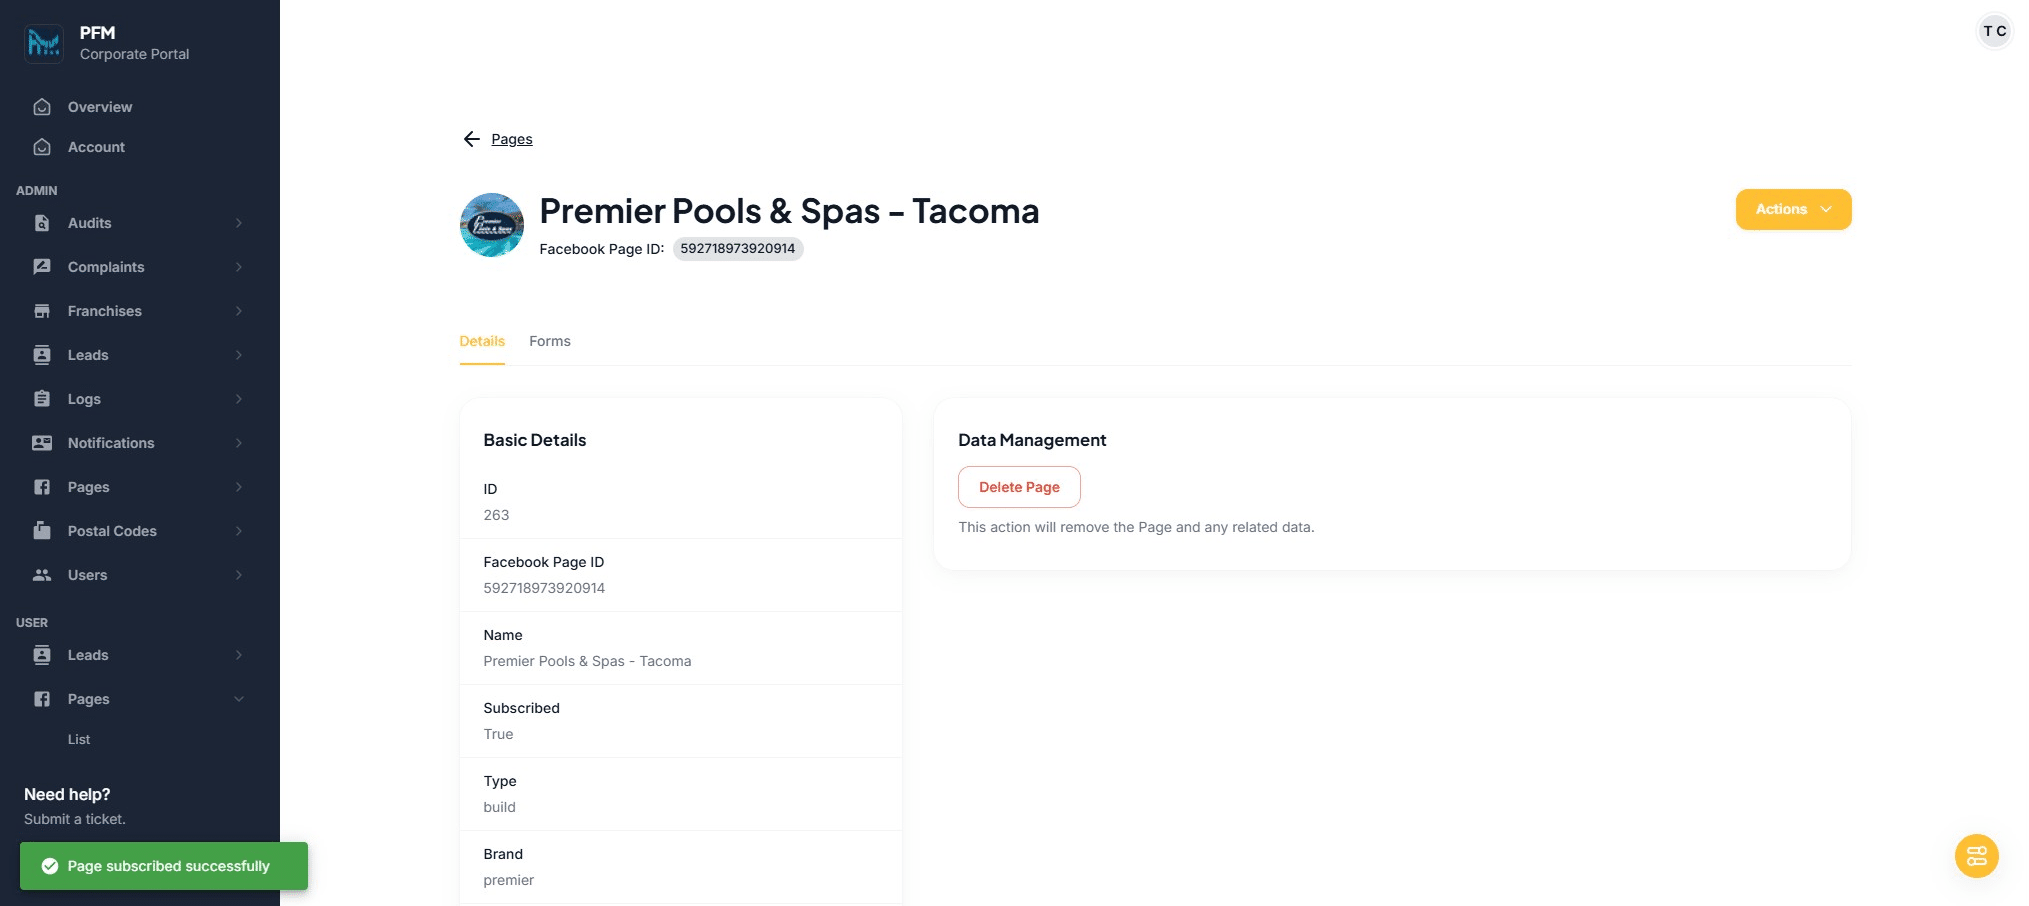
Click back to return to the Facebook Page
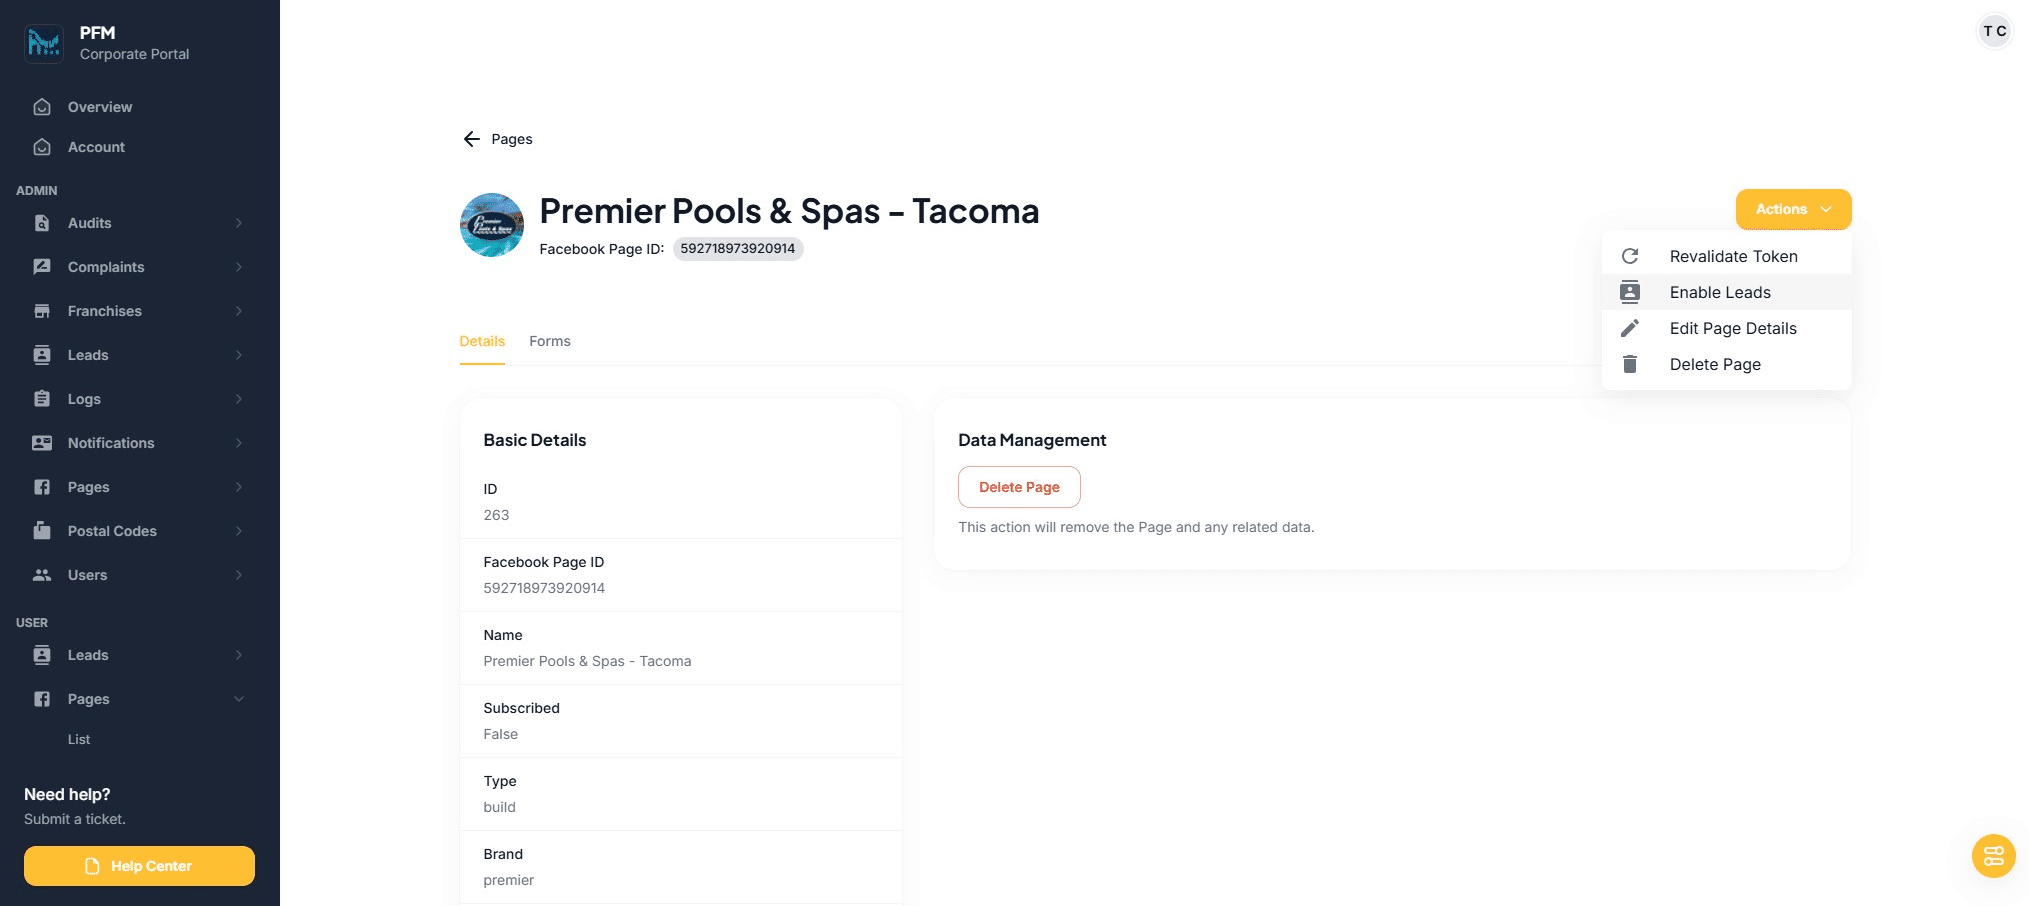
Click "Actions"
Click on "Enable Leads" to turn on lead routing
Confirming that page has been "subscribed." Click back to see page list.
Page in list should show subscribed as "True"

A test lead needs to be sent through the new Facebook form to confirm the routing has set up properly.